If you think composting in an apartment is a one-way ticket to Funk City, meet Bokashi: the cozy, indoor-friendly method that pickles your food scraps in an airtight bucket. It is fast, low-odor (think tangy, not trashy), and wildly efficient—even for small kitchens. You can ferment everything from carrot peels to leftover spaghetti, and yes, even meat and dairy. The end result? Nutrient-rich material your plants will love once it’s finished in soil. Let’s set you up this weekend—no backyard needed.

What Bokashi Is (And Why It Doesn’t Stink)
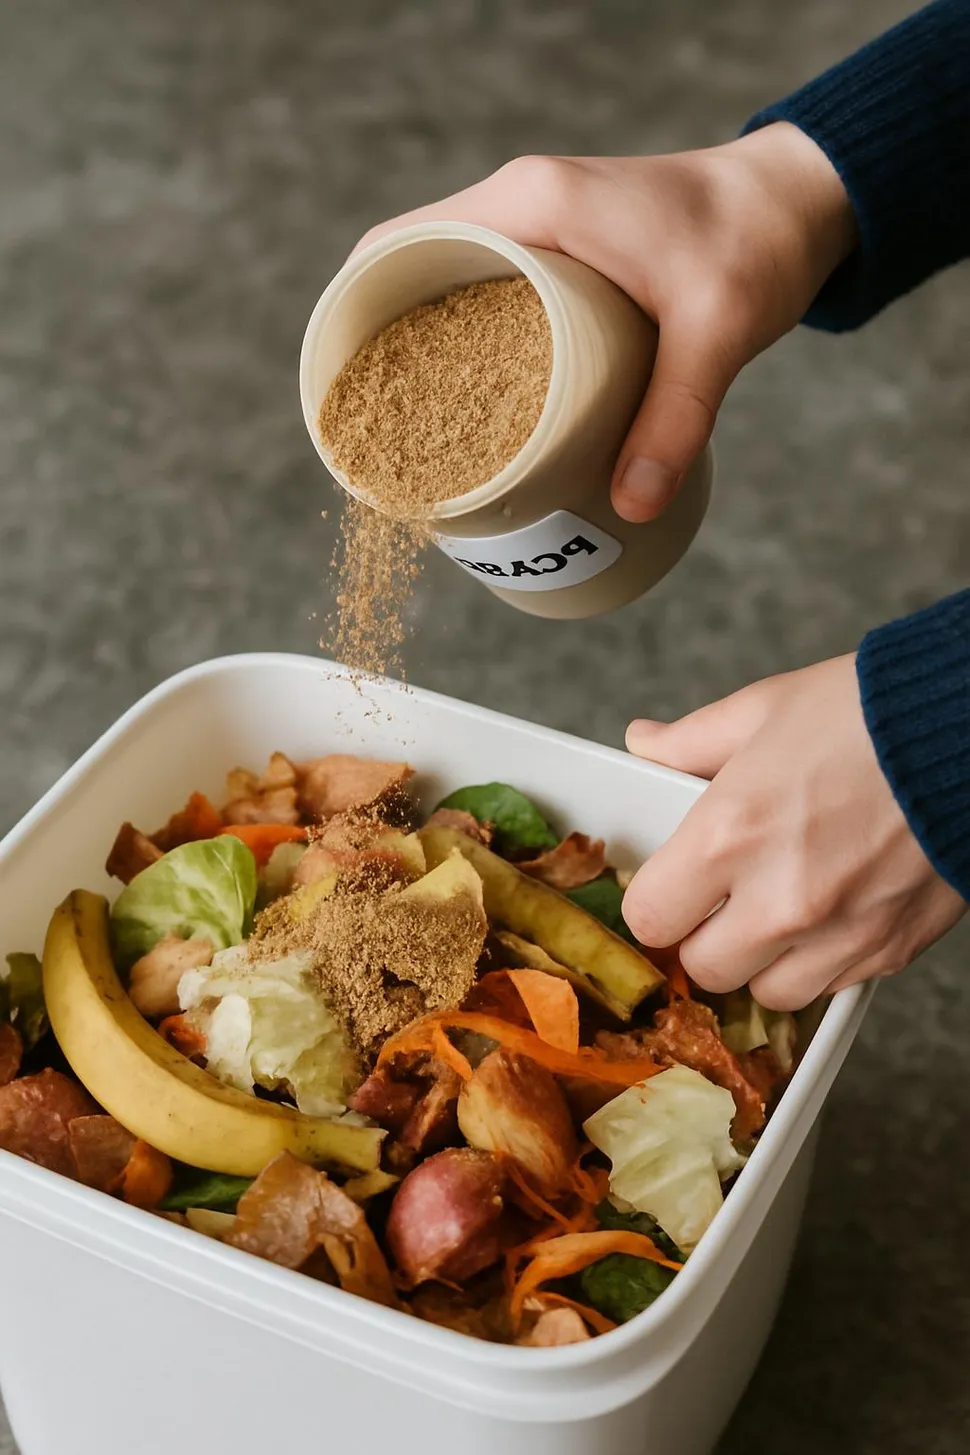
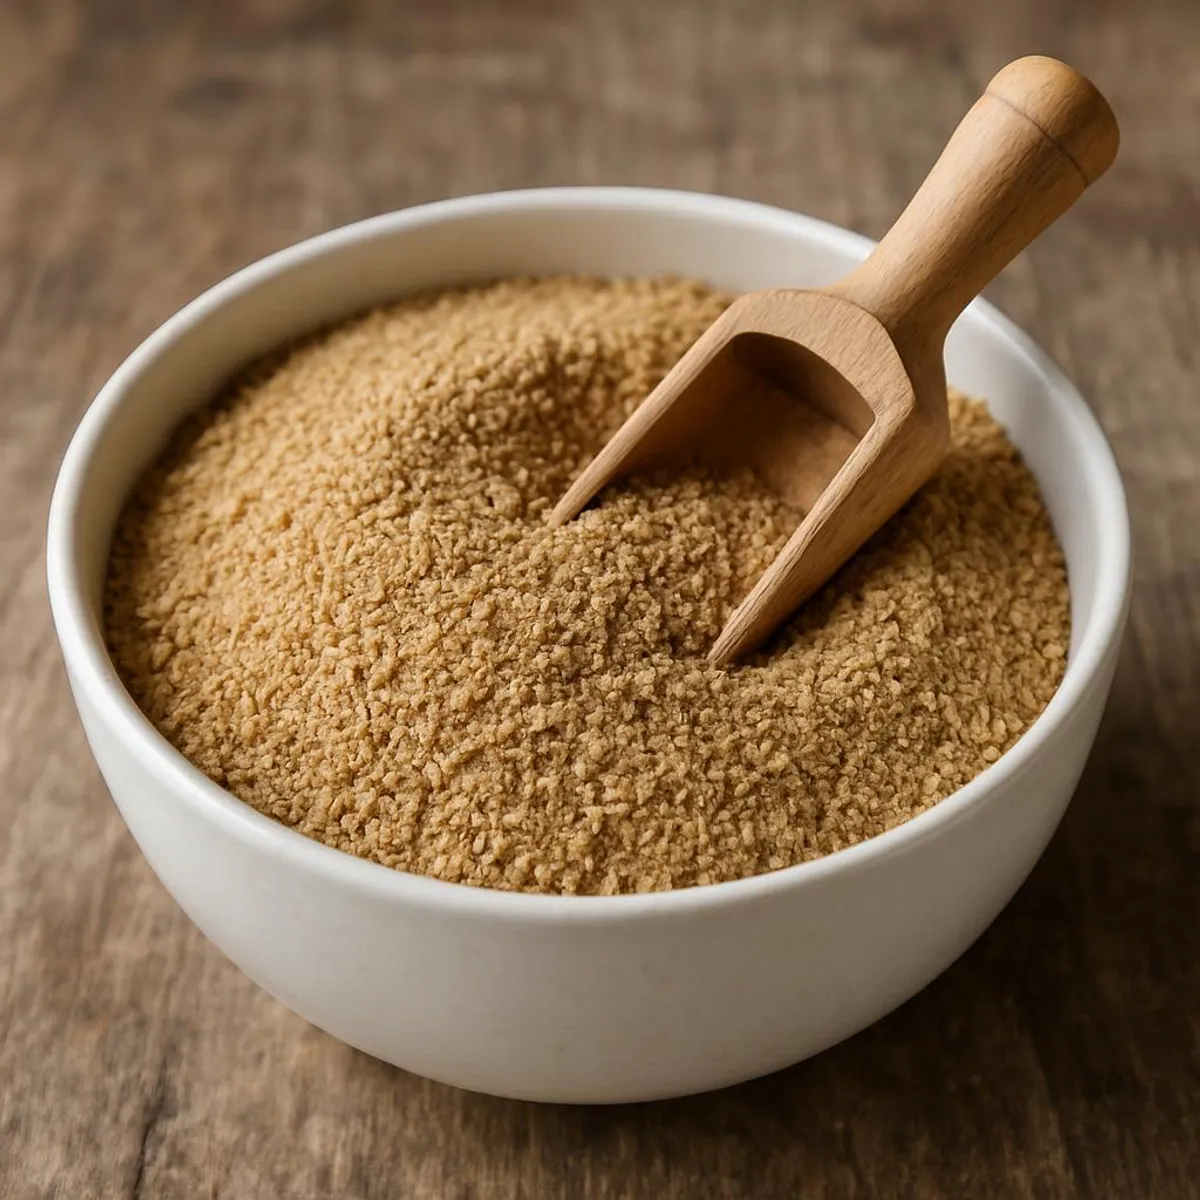
Bokashi is not traditional composting. It’s anaerobic fermentation that uses a microbe-charged inoculant (often wheat bran or sawdust infused with effective microorganisms) to break down food scraps in an oxygen-free environment. Think of it like making sauerkraut… but for your leftovers. Because the system is sealed and the process is acidic, smells are contained and usually mild—more like pickles than garbage.
- Traditional composting: needs air, heat, and a balance of greens/browns. Slower indoors and fussier in small spaces.
- Bokashi: sealed bucket, layers of food + inoculant, daily drain of liquid, then a quick “finish” in soil or a container.
🍗Meat and dairy? Yep!
Bokashi shines where many compost methods struggle: it can handle meat, fish, dairy, small bones, and cooked foods. The fermentation phase neutralizes odors and speeds up the breakdown when you land your fermented scraps in soil later.
Small acts, when multiplied by millions of people, can transform the world.
Howard Zinn
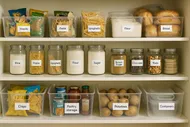
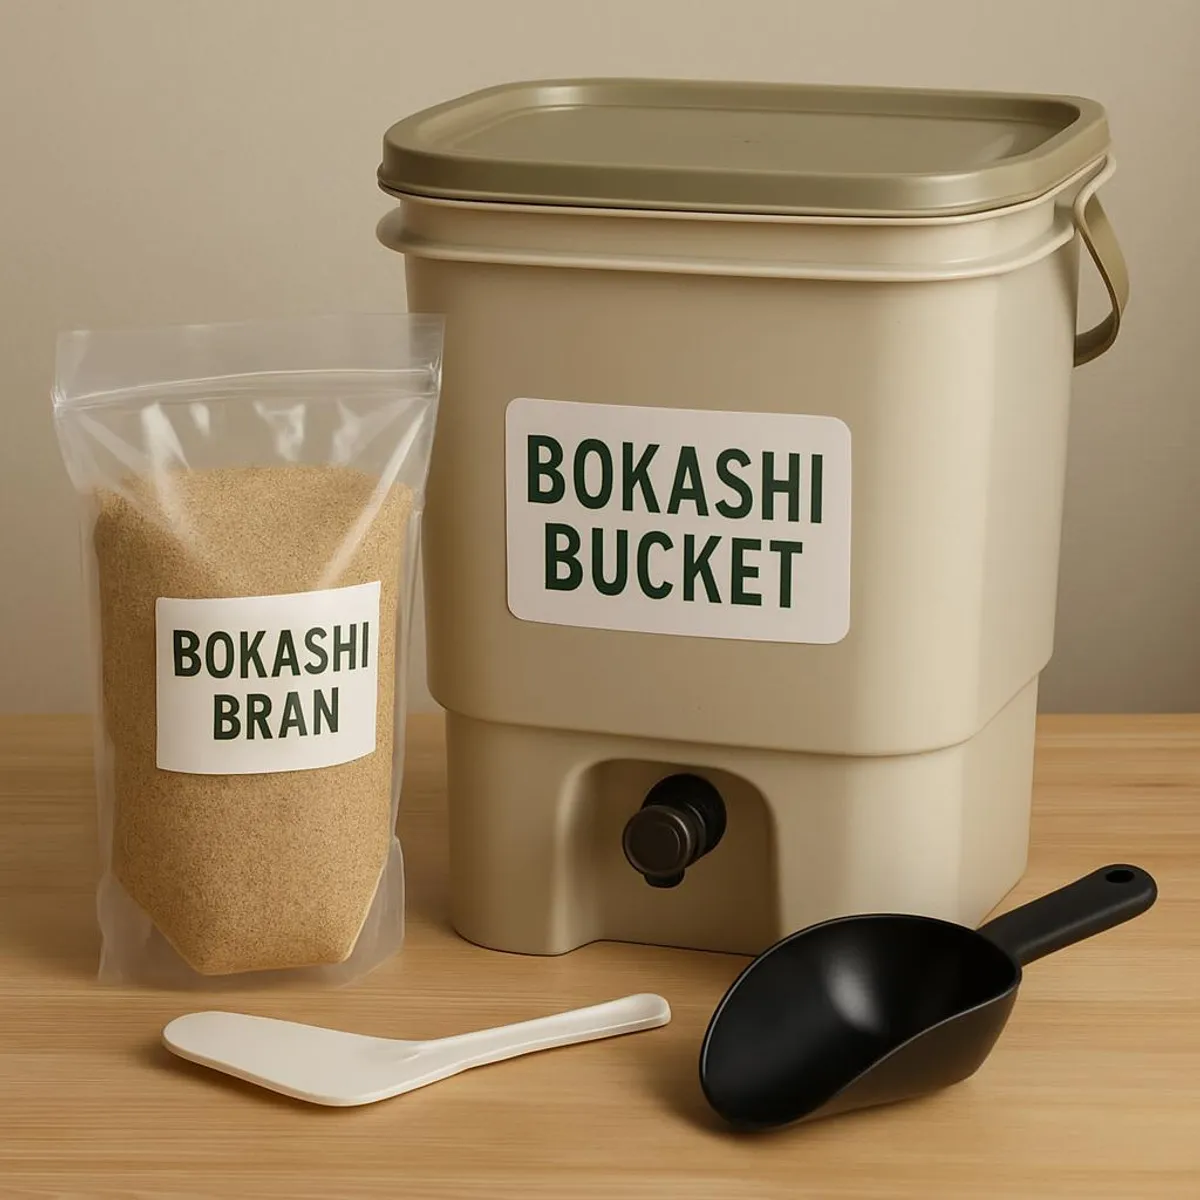
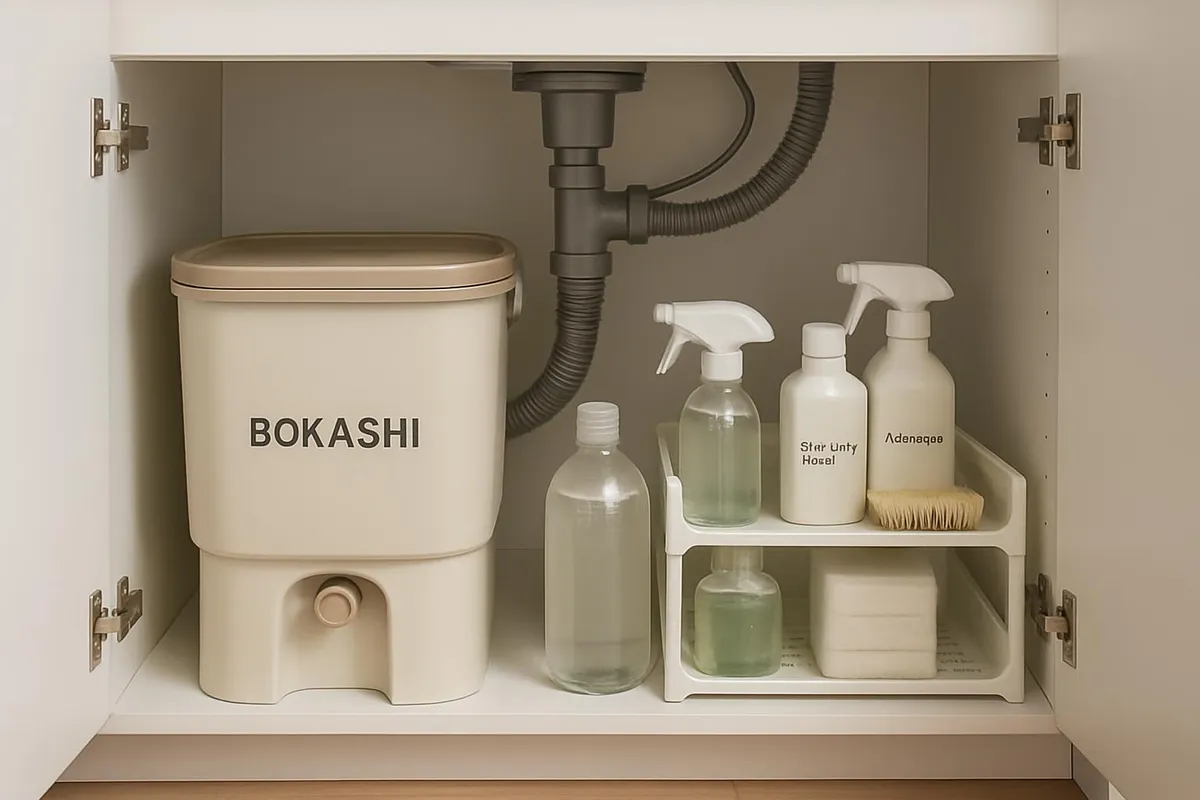
What You Need to Get Started (Small-Space Friendly)
Here’s your simple apartment setup:
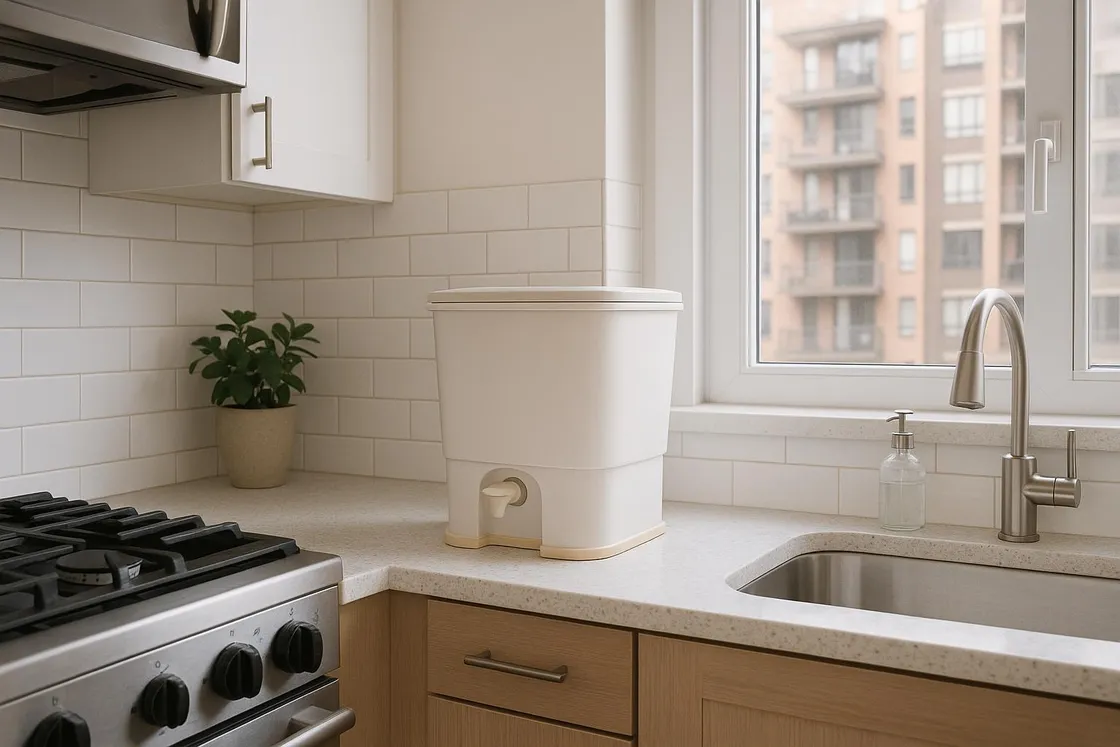
- 1 or 2 bokashi buckets with tight-seal lids and a spigot
- Bokashi bran (microbe-inoculated)
- A pressing tool (clean potato masher or silicone spatula)
- A perforated insert or strainer plate for the bucket (often included)
- A small jar or bottle to collect liquid “bokashi tea”
- Optional: a second bucket so you can fill one while the first is fermenting
- Optional: gloves and newspaper/cardboard squares to cover layers
🔎Transparency moment
Some links may be affiliate links. If you choose to buy through them, it won’t cost you extra and helps support MySimple.life. Thank you for cheering on sustainable content!
Weekend Setup: Step-by-Step Fermentation Without the Drama
You can get everything rolling in one cozy weekend. Here’s your playbook.
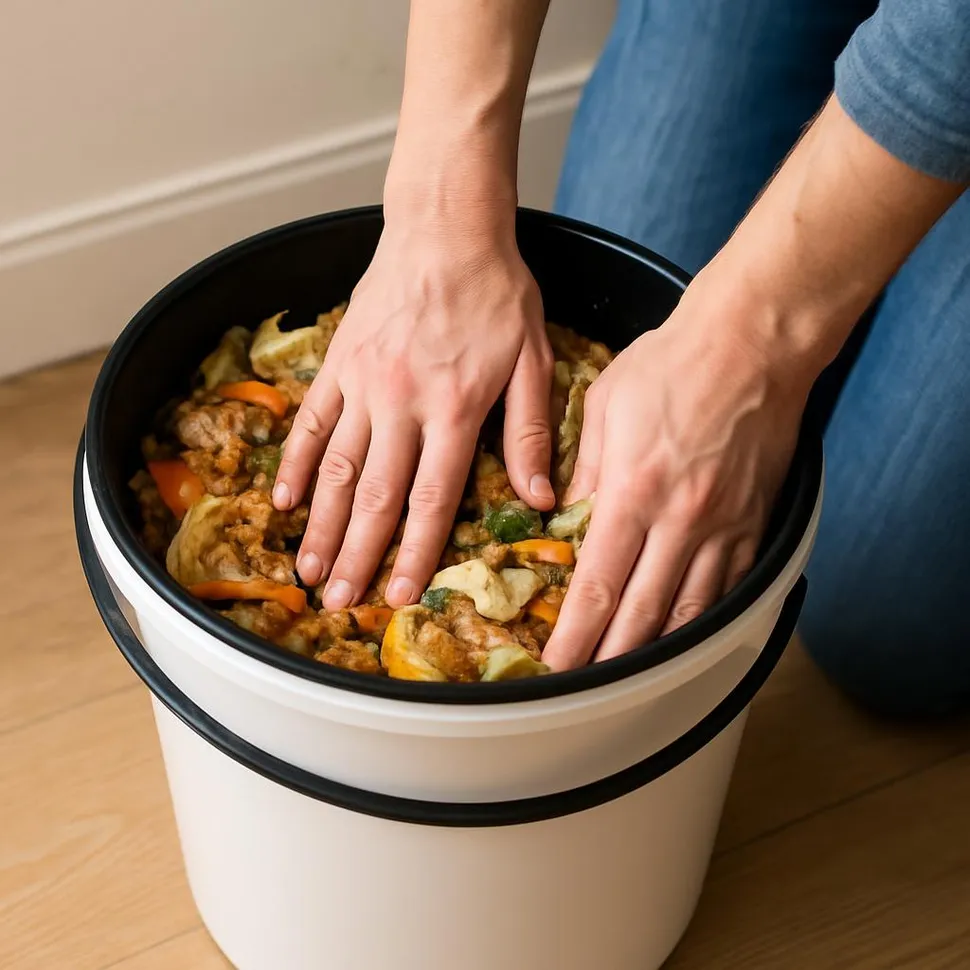
Day 1: Prep and First Layers
- Place the strainer insert in the bucket. This keeps scraps above the tap area so liquid drains cleanly.
- Sprinkle 1–2 tablespoons of bokashi bran on the bottom.
- Add your first small batch of food scraps (chopped is best; smaller pieces ferment faster).
- Firmly press the layer to remove air pockets.
- Sprinkle another light layer of bran across the surface (about 1–2 tablespoons per 2–3 cups of scraps).
- Cover the surface with a piece of newspaper or a compostable paper towel (optional) to minimize trapped air.
- Seal the lid tightly.
- If any liquid collects quickly, open the spigot and drain it into your jar.
Days 2–14: Daily Rhythm
- Add scraps once or twice a day, always press, sprinkle, cover, and seal.
- Keep it as dry as practical—avoid pouring soups or excess liquid into the bucket.
- Drain the “bokashi tea” every 1–2 days; we’ll use it below.
- When the bucket is full, give the top a final sprinkle of bran, cover, and let it ferment sealed for 10–14 days.
🪗Pro tip: two-bucket tango
Use two buckets on a loop. While Bucket A ferments for two weeks, keep adding scraps to Bucket B. No downtime, no waste pileups, and no funky freezer hoarding.
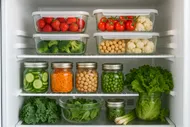
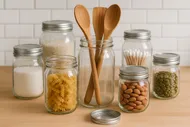
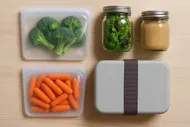
What Goes In (And What to Skip)
Great in bokashi:
- Fruit and veg scraps (cooked or raw)
- Cooked grains and pasta
- Bread and baked goods
- Meat and fish (including small bones)
- Dairy (cheese rinds, yogurt)
- Coffee grounds and tea leaves (loose or paper bag)
- Crushed eggshells
- Citrus peels and onions are fine in moderation
Skip or limit:
- Excess liquids (soups, broths; strain first if possible)
- Large bones (they won’t break down quickly)
- Moldy foods (bokashi favors fresh scraps—some surface fuzz is okay, but not spoiled food in)
- Compostable “plastic” bags/utensils (they need industrial conditions, not bokashi)
- Large fruit pits and hard shells (they’ll remain intact)

Bokashi Tea: Drain It, Dilute It, Put It to Work
As your scraps ferment, you’ll collect a nutrient-rich liquid called “bokashi tea.” It’s potent—handle with care.
- Drain every 1–2 days to keep the system from getting swampy.
- For houseplants or garden: dilute between 1:100 and 1:200 (think 1 teaspoon per 2–4 cups water). Test on a small area first.
- Avoid direct contact with leaves; water the soil only.
- For drains: pour it undiluted to help reduce odors and biofilm. Follow with a bit of water.
🧪Dilution cheat sheet
- Indoor plants: 1:200 (gentler)
- Outdoor containers: 1:100 (more robust)
- Drain cleaner: undiluted
Always test and never apply to stressed or very young seedlings.
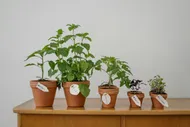
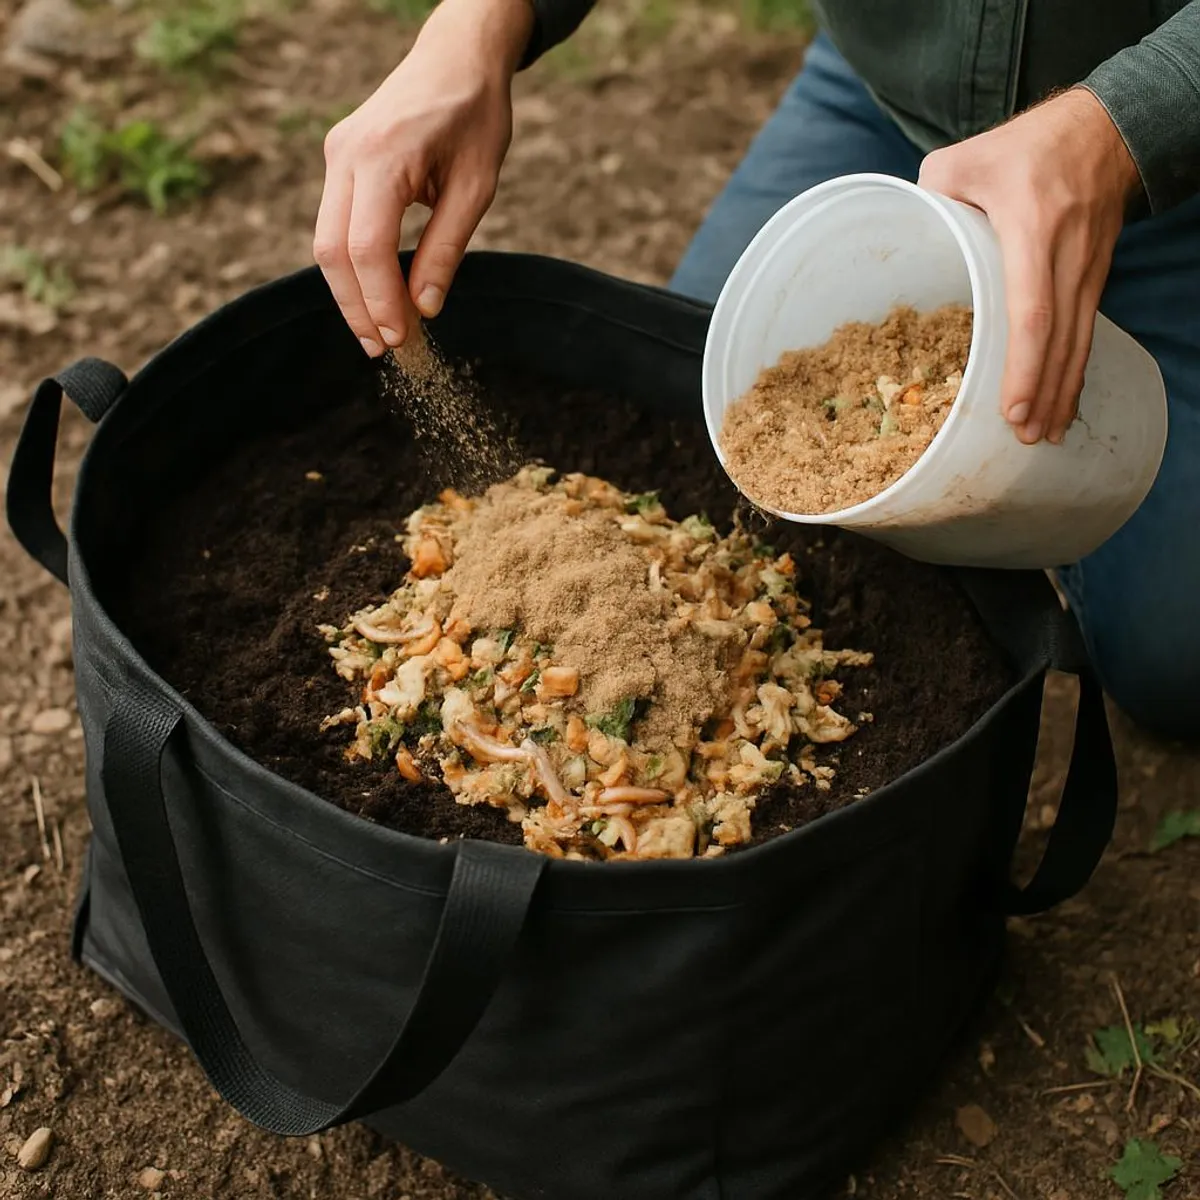
Finishing the Process: Soil Factory or Bury-In-Place
After your bucket ferments for 10–14 days (without adding new scraps), it’s time to “finish” it in soil. The fermented material will look much like day one—that’s normal. The magic is in the microbes; once it meets soil, it breaks down fast.
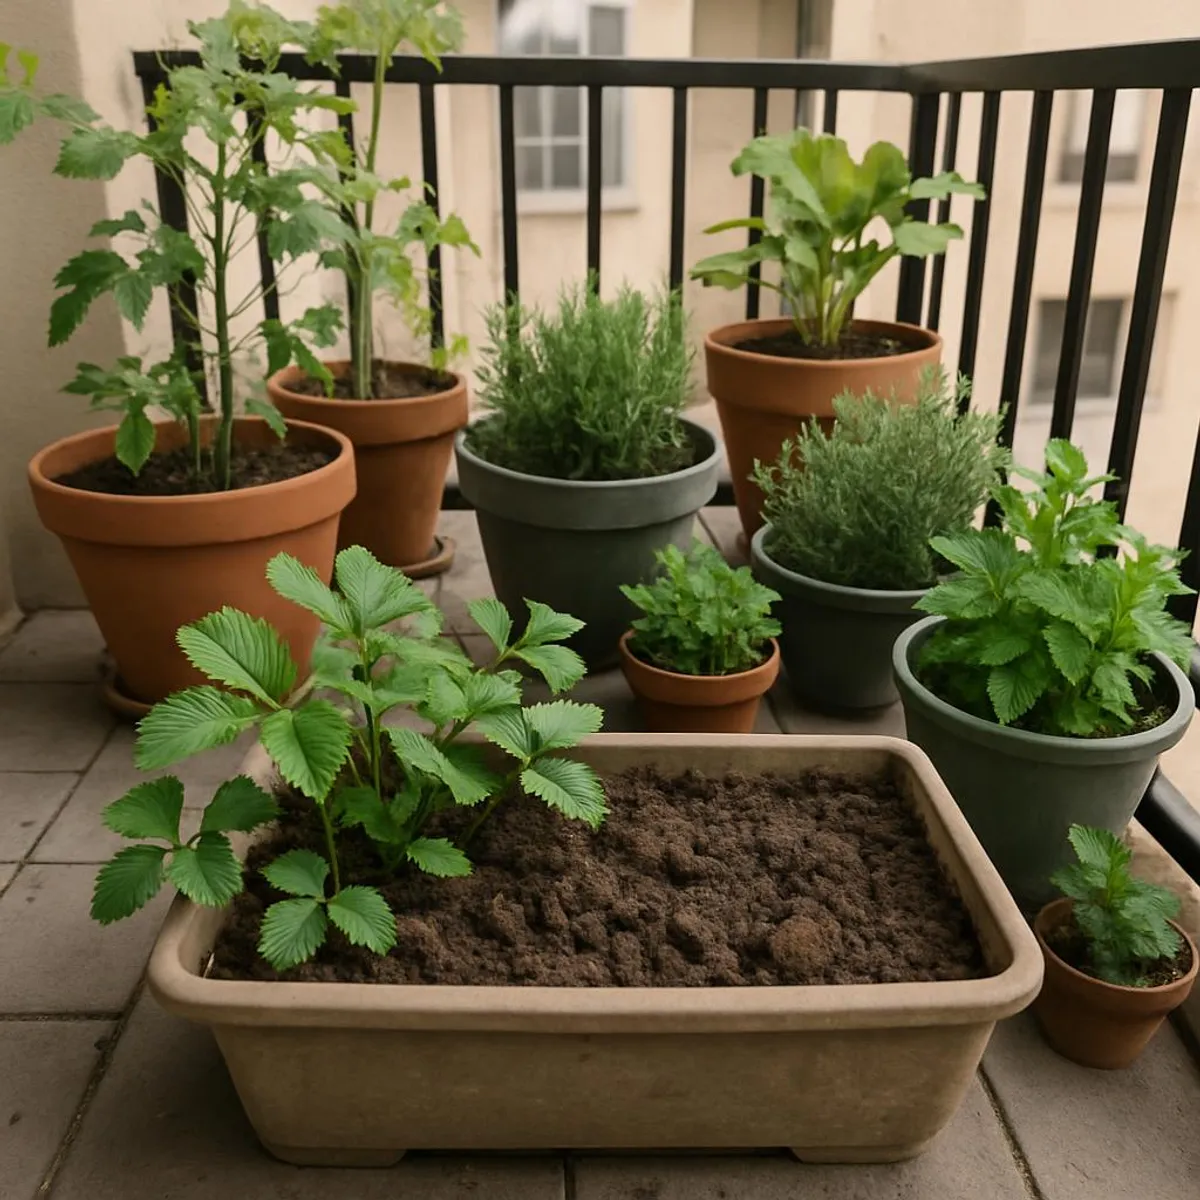
Apartment-friendly finishes:
- Soil factory in a tote: Fill a storage tote with 6–8 inches of potting soil. Add a 1–2 inch layer of fermented material, then 2–3 inches of soil. Repeat like lasagna. Seal with the lid. Stir once a week. In 2–4 weeks, it will look earthy and ready to use.
- Large planters: If you have balcony planters, tuck fermented bokashi under a few inches of soil and let time do its thing before planting.
If you have access to a community garden or yard:
- Dig a shallow trench, add fermented material, cover with soil, and wait 2–4 weeks before planting directly over it.
Troubleshooting (Because Every Kitchen Has a Plot Twist)
- It smells bad, not pickly: Real stink = too much air or not enough inoculant. Press down harder, add more bran, and make sure the lid is truly airtight. Drain liquid more frequently.
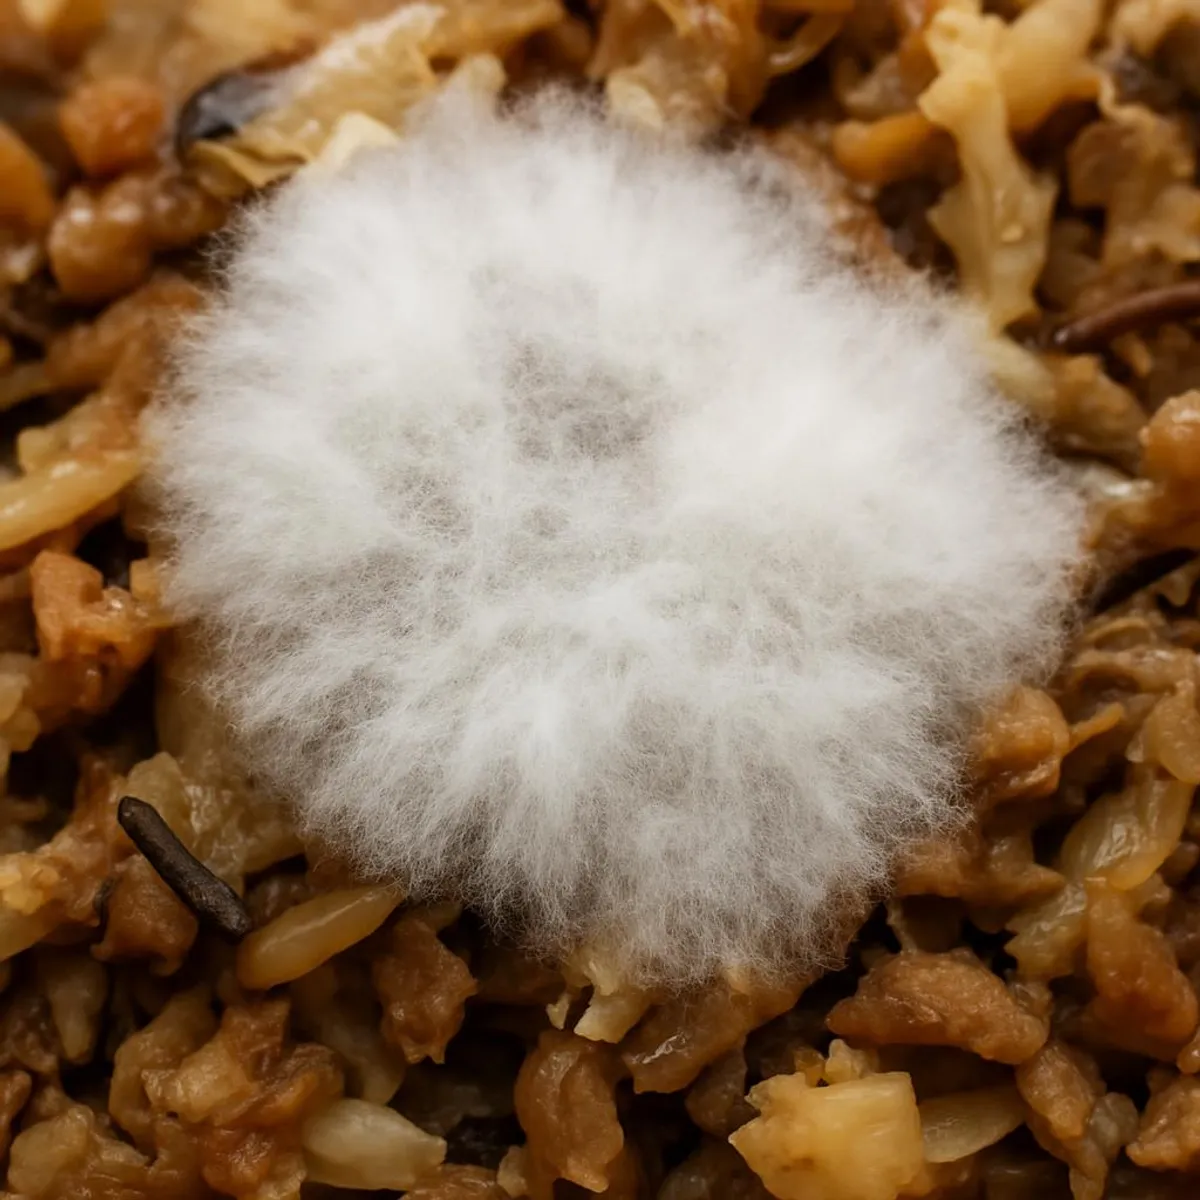
- Mold colors: White cottony mold is good—a sign of actinomycetes doing their thing. Blue/green/black mold? Not great. Add more bran, press, drain, and keep tightly sealed. If it persists, you can transfer to soil promptly and cover.
- Fruit flies: They should not get in. If you see them, you likely have a seal issue. Clean the rim, add a paper cover inside, and reseal. Consider a strip of reusable sealing tape if your lid is finicky.
- Too much liquid: More wet inputs = more tea. Strain juicy scraps first and add a little shredded paper or cardboard squares between layers.
- Clogged spigot: Gently poke the drainage hole from inside with a chopstick (when empty). Rinse with warm water and mild soap. Avoid harsh chemicals; if you need safe cleaners, peek at Greener Clean: DIY Eco-Friendly Cleaning Products for Every Room.
🤍White mold = thumbs up
White mold indicates a healthy fermentation community. Think of it as proof your bucket microbes are throwing a tiny fermentation party.
Costs, Time, and Space: The Apartment Reality Check
- Bucket(s): $25–$50 each if DIY with a gamma-seal lid and spigot; $60–$90 for ready-made kits with inserts and tools.
- Bokashi bran: $15–$30 per bag. Expect a bag to last 1–3 months depending on how much you compost and how generous your layers are. Average ongoing cost: about $3–$10 per month.
- Time: 3–5 minutes per day to add/press/sprinkle/drain. Finishing in a tote takes about 20–30 minutes of setup with occasional checking.
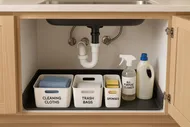
- Space: One small bucket fits under most sinks or in a pantry. A soil factory tote can slide under a bed, on a balcony, or in a closet (it should smell earthy, not sour).
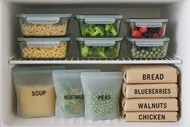
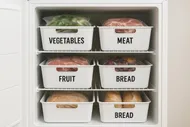
If your goal is wider kitchen sustainability, layer bokashi with smarter food storage to prevent waste in the first place. For inspiration, see The Plastic-Free Fridge: A Guide to Sustainable Food Storage That Actually Keeps Things Fresh and Green Lunch Hacks: How to Pack Low-Waste, Eco-Friendly Meals. And for shopping mindfully to create fewer scraps, try Zero-Waste Grocery Shopping: Beginner’s Guide and Best Reusables.
Your Weekend Bokashi Checklist
Use this to go from curious to composting in 48 hours:

FAQs You’ll Be Glad You Read
- How long until I can use the material? After 2–4 weeks of finishing in soil, it typically becomes crumbly and plant-ready. Colder temps slow it down; warmer temps speed it up.
- Can I open the bucket often? Yes—daily is fine. Just be quick, press out air, and reseal tightly.
- Is citrus really okay? In moderate amounts, yes. Balance your layers and use enough bran.
- What if I only cook a little? Use the freezer to save up scraps, then add a thawed portion each day. A two-bucket system still helps avoid downtime.
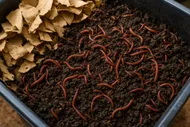
- Can I put bokashi in a worm bin? Yes! Mix gently and in small amounts at first; it’s acidic. Your worms will adapt and then devour the softened material.
The Apartment Bokashi Weekend Challenge
Ready to give your trash can a lighter life? Here’s your challenge:
- This weekend, set up your first bucket and add at least three layers.
- Drain your first bokashi tea and put it to work (diluted for a plant or undiluted for a drain).
- Post your “first pour” or bucket corner on Instagram and tag us so we can cheer you on!
If you want to keep the momentum going, pair your new system with smarter storage and routines. Try The Plastic-Free Fridge: A Guide to Sustainable Food Storage That Actually Keeps Things Fresh and our breezy kitchen cleanup ideas in Transform Your Dishwashing Routine Into an Eco-Friendly Practice.
✨Your tiny fermentation factory awaits
Every scoop of scraps you ferment is one less thing headed to the landfill. It’s a quiet, powerful habit—and your plants will thank you with lush, leafy applause.