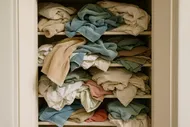
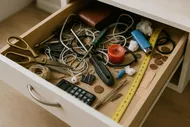
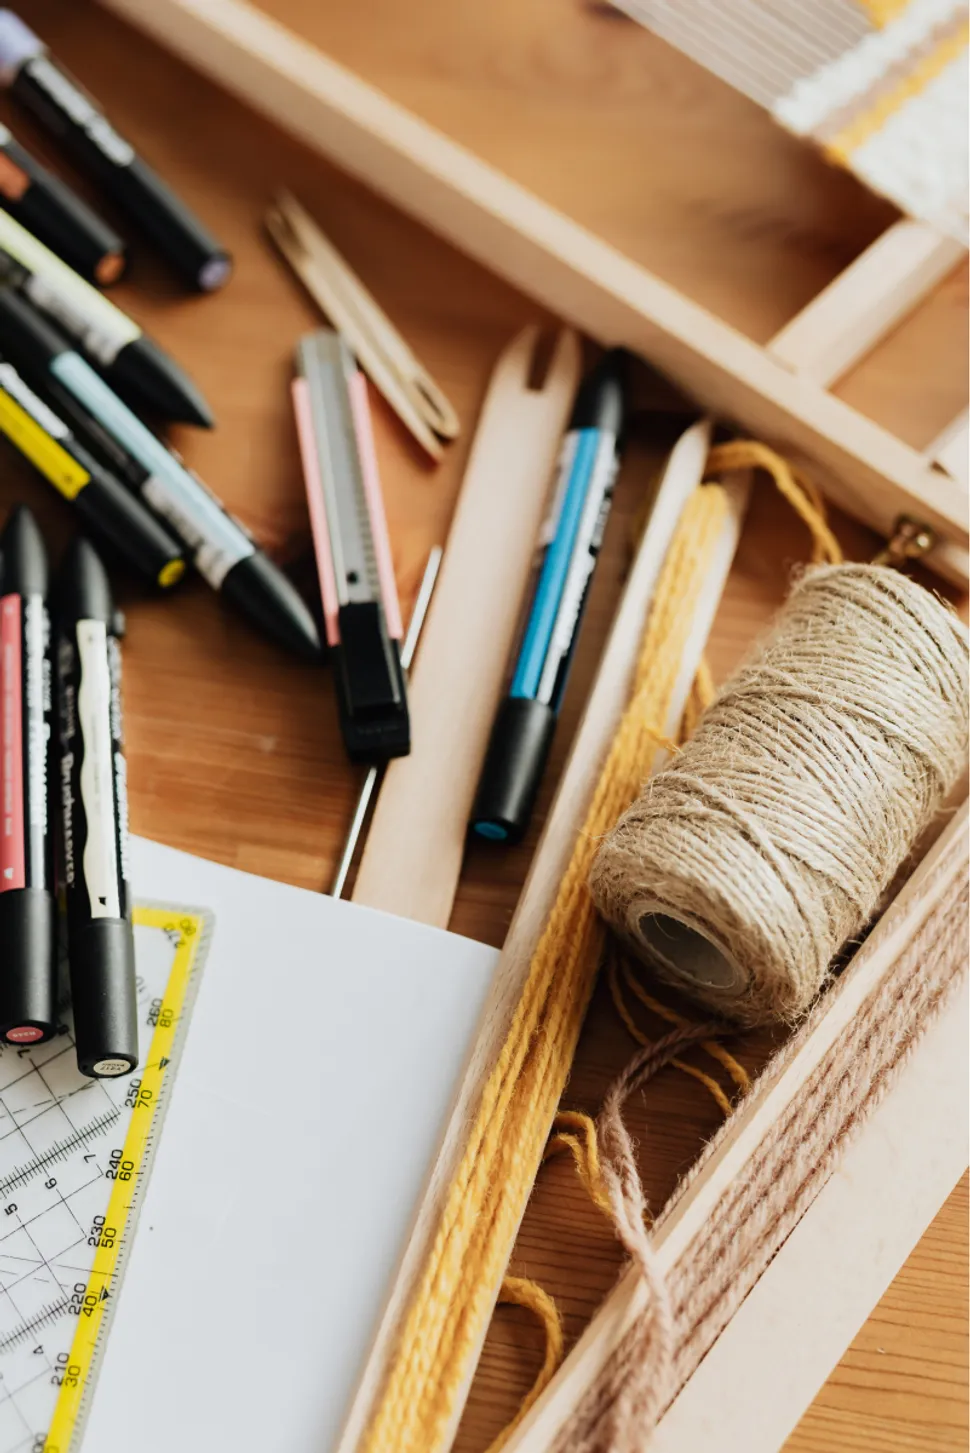
Let’s face it: your junk drawer is a black hole of randomness. Batteries that may or may not work, pens with no ink, and a lone rubber band holding it all together like a dysfunctional family. Once, I found a birthday card from 2012 and a single chopstick in mine. If your junk drawer is bursting at the seams (and your patience), it’s time to take charge. Let’s turn that chaos into calm, shall we?

Why We All Have One (Spoiler: You’re Not Alone)
The junk drawer is universal. It’s like the secret shame of adulthood. We tell ourselves it’s organized chaos—but really, it’s where stuff goes to die. Can’t find a home for that random screw you swear is important? Toss it in the drawer.
But here’s the truth: Your junk drawer isn’t just a cluttered space. It’s a reflection of deferred decisions. Decluttering it can be a surprisingly freeing experience, helping to clear not just your space, but also your mind of unnecessary stress. And today, we’re tackling it head-on.
Step 1: Dump It All Out
Yes, I said ALL of it. Don’t leave that suspiciously sticky paperclip behind. Lay it all out on a flat surface where you can see just how much stuff you’ve crammed in there. It’ll be humbling.
✨Pro Tip: Place a towel or tray under the pile to keep small bits like screws and pins from rolling away.

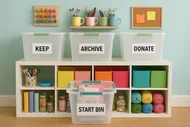
Step 2: Sort Like Your Life Depends On It
Now that you’ve unleashed chaos on your table, it’s time to sort. Here’s a simple system:
- Keep: Items you actually use, like scissors or a functional flashlight.
- Trash: Those dried-up pens, expired coupons, or mystery keys that no longer open anything.
- Relocate: Things that belong elsewhere—for instance, a screwdriver that should be in your toolbox.
- Donate: If you’ve got three bottle openers or duplicate gadgets, pass them along to someone who might need them.
🛑The Rule of Thumb
If you haven’t used it in the last six months, it’s probably time to say goodbye. Step 3: Clean Before You Restock
Before putting anything back, give the drawer a good wipe-down. You’ll be amazed at how much dust and grime accumulates in there. Add a drawer liner if you’re feeling fancy—it’s like a spa treatment for your drawer. Consider using a non-slip silicone liner for practicality or a decorative paper liner for a touch of style. You can even DIY one with wrapping paper and clear adhesive.
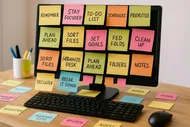
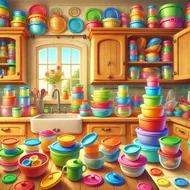
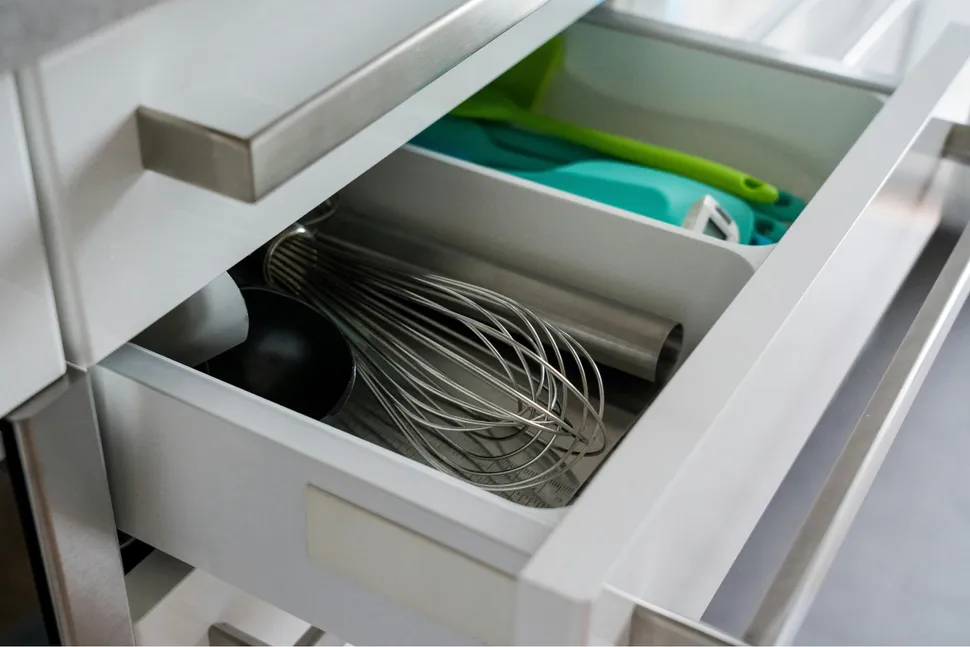
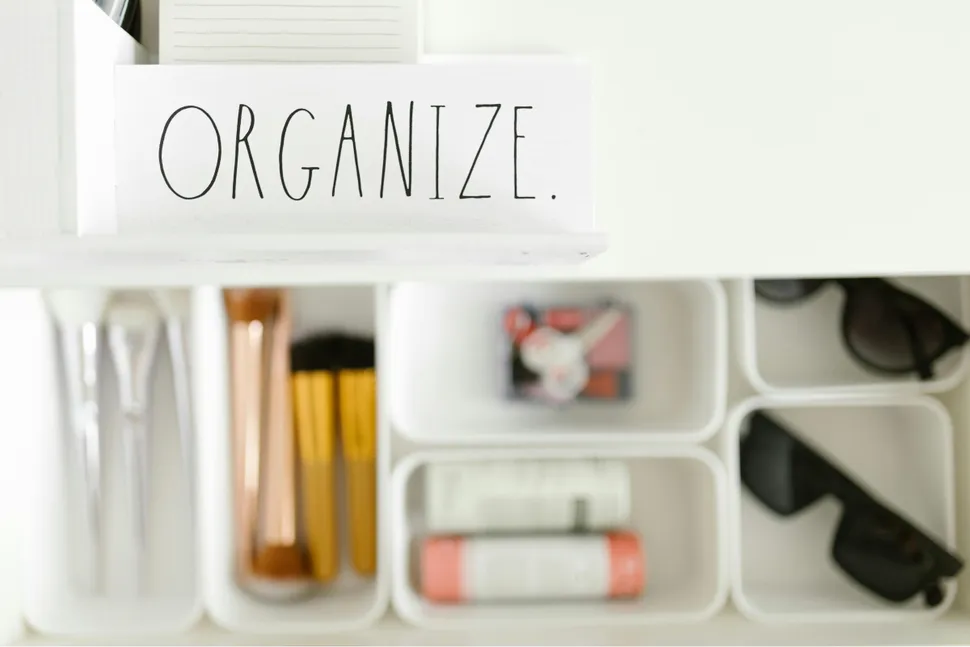
Step 4: Organize Like a Pro
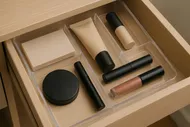
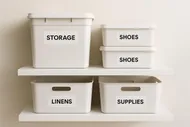
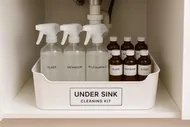
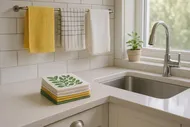
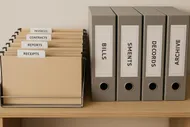
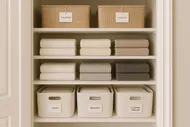
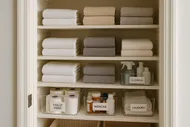
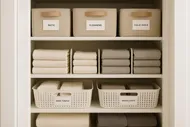
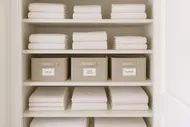
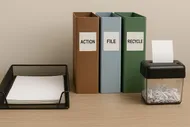
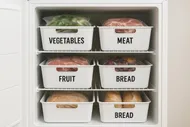
Here’s where we take things from “meh” to chef’s kiss. Use small containers, dividers, or repurposed boxes to keep everything in its place. Categorize by function—office supplies, tools, batteries, etc.
Step 5: Keep It Clutter-Free
Now that your drawer looks like a Pinterest dream, let’s keep it that way. A few quick tips:
- Limit What Goes In: Be selective. If it doesn’t have a clear purpose, don’t let it in.
- Regular Check-Ins: Every few months, take a minute to toss anything unnecessary.
- A Junk Drawer Jar: For loose odds and ends, consider a small jar within the drawer to catch those strays.
👏Celebrate Your Win: Share your junk drawer makeover on
Instagram and tag! Use the hashtag #JunkDrawerGlowUp to join the decluttering movement.
What’s Next?
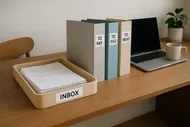
Now that you’ve conquered your junk drawer, why stop there? Tackle another small area, like the bathroom cabinet or your desk drawer. Trust me, the satisfaction is addictive.
So, what’s the weirdest thing you found in your junk drawer? I once found a petrified gummy bear (don’t judge). Share your stories on Instagram—I’d love to hear them!