Freezing is time travel for leftovers. Tuck away tonight’s chili, and Future You gets a hearty dinner with zero effort—and zero waste if you play it right. Today, we are ditching single-use plastic bags and going all-in on glass, stainless steel, silicone, and paper wraps that keep flavor locked in and freezer burn out. I will walk you through what to use, how to pack it, a freeze-by guide for common foods, thawing tips that keep textures dreamy, and a printable-style label template you can copy onto standard 2x4 labels. Grab a marker, and let’s turn your freezer into a low-waste treasure chest.
Why go plastic-free in the freezer?
- Less waste: No more single-use zipper bags or cling film in the trash.
- Better taste and texture: Durable materials seal better, protect against freezer burn, and stack like a dream.
- Safer storage: Many glass and stainless options are stain-resistant and don’t hang onto odors or colors.
- Cost per use wins: Reusables pay for themselves long-term.
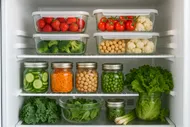
If you are already greening up your fridge game, do a quick victory lap with this companion read: The Plastic-Free Fridge: A Guide to Sustainable Food Storage That Actually Keeps Things Fresh.
The core principles of zero-waste freezing
Think of these as your freezer’s house rules—like your own chill code of conduct:
- Cool fully before freezing to prevent condensation and ice crystals.
- Leave headspace in rigid containers for expansion (about 1 inch for liquids).
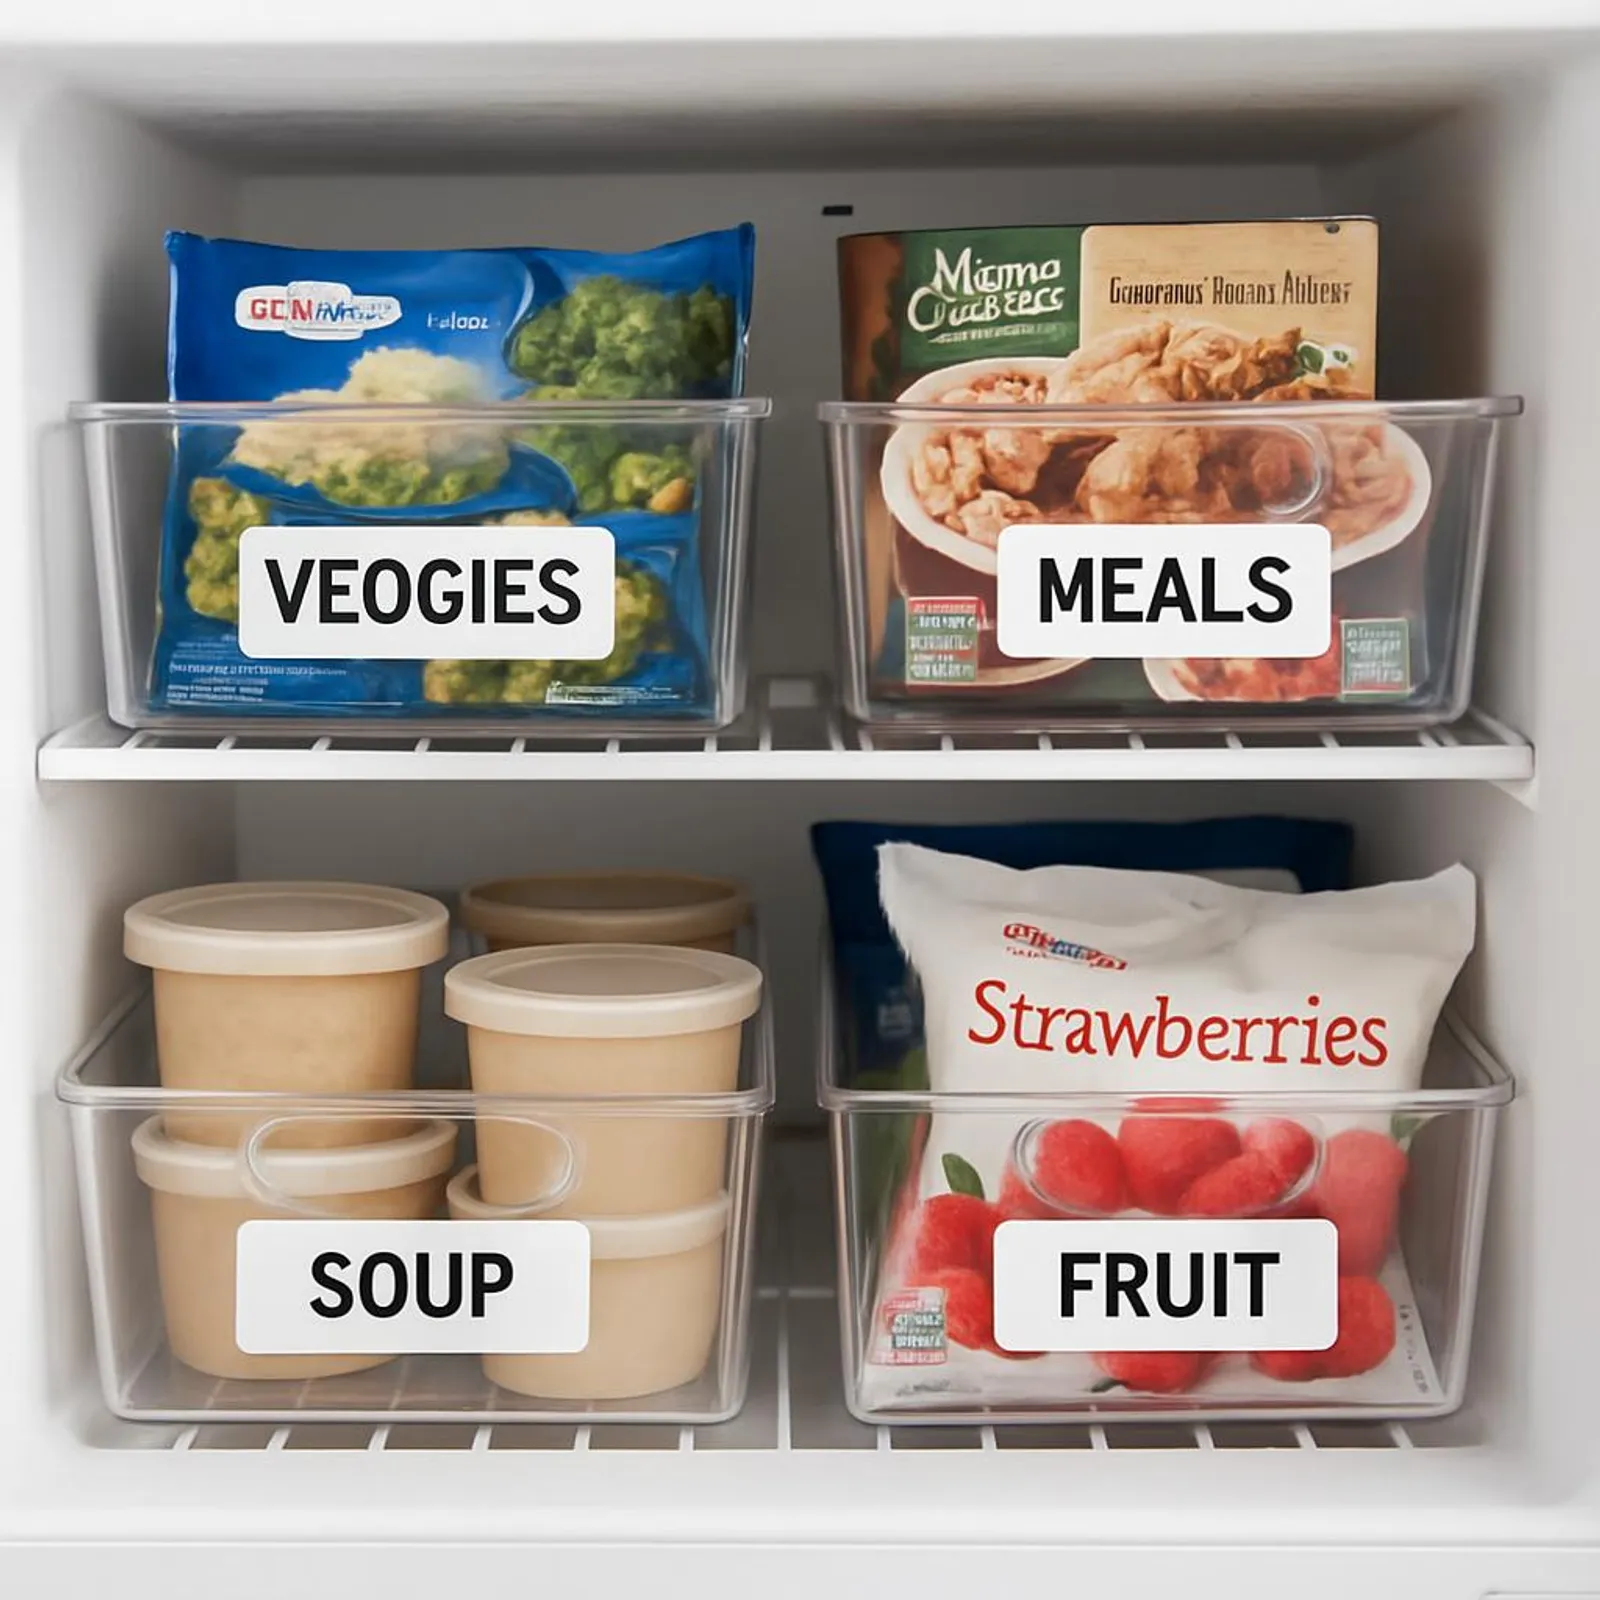
- Portion small: freeze in meal-sized or single-serve units to avoid waste.
- Eliminate air: press wraps close to food, or displace air from bags.
- Flash freeze loose items on a tray first, then package.
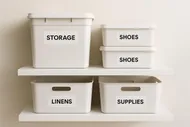
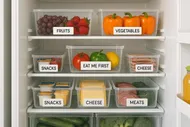
- Label everything with item, date, and ‘use by’ goal.
- First in, first out: stack new items behind or below older ones.
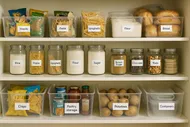
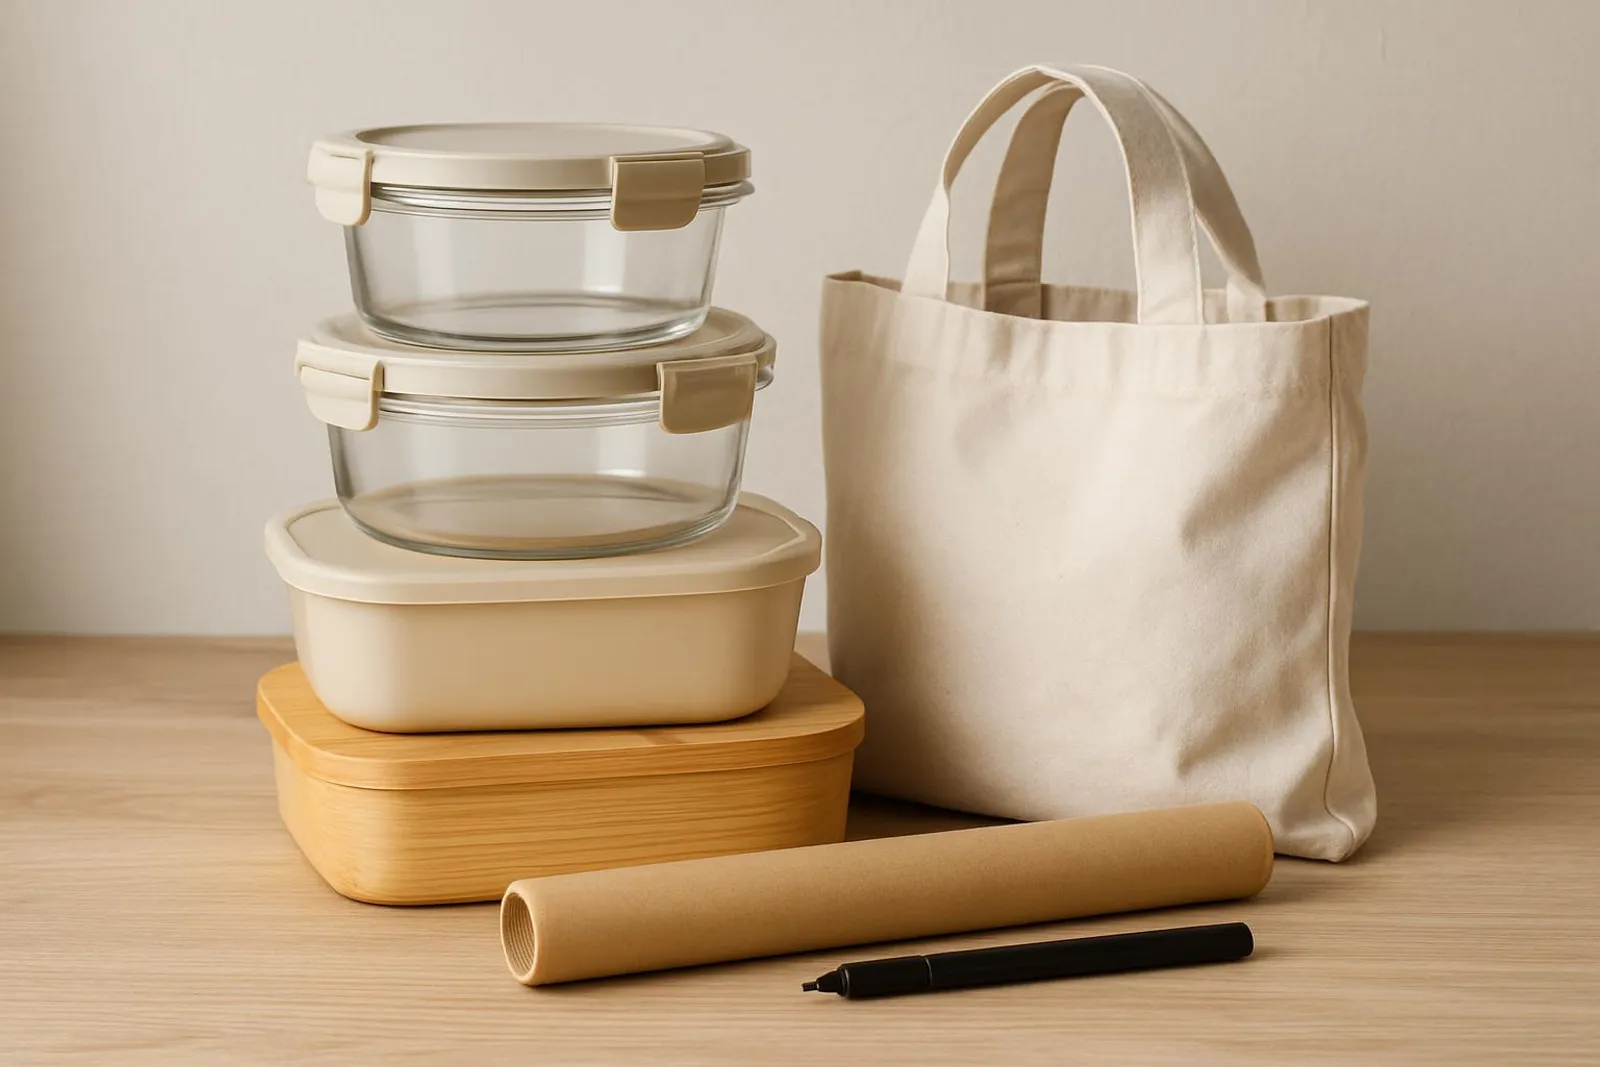
🧊Quick-start kit
Your plastic-free starter lineup:
- 2–3 sizes of lidded glass containers (shallow ones for soups/sauces).
- 4–6 silicone storage bags (stand-up for liquids; sandwich size for solids).
- 1–2 stainless steel containers or lunchboxes for fast-chilling items.
- Unbleached parchment paper rolls + masking/freezer tape for wraps.
- A permanent marker or freezer-grade wax pencil for labels.
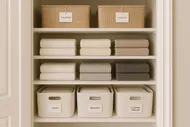
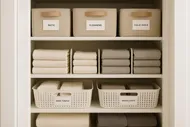
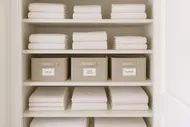
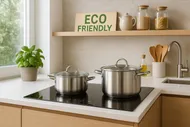
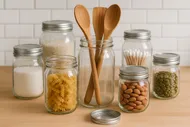
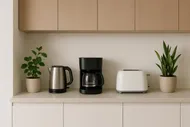
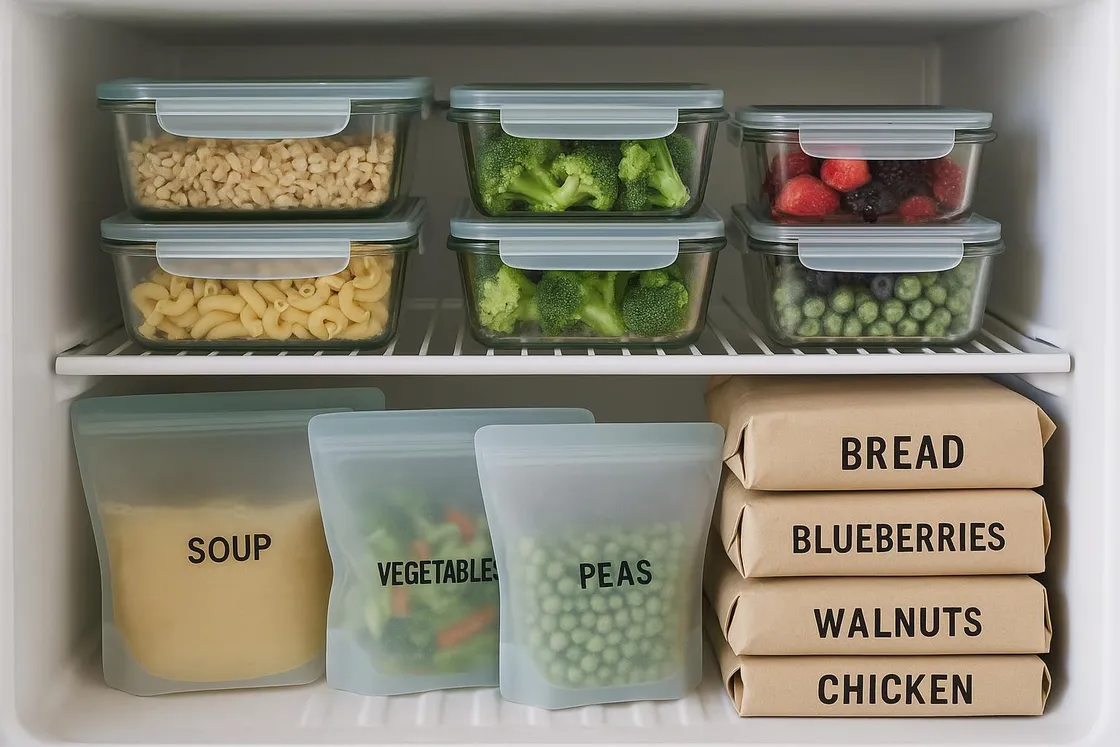
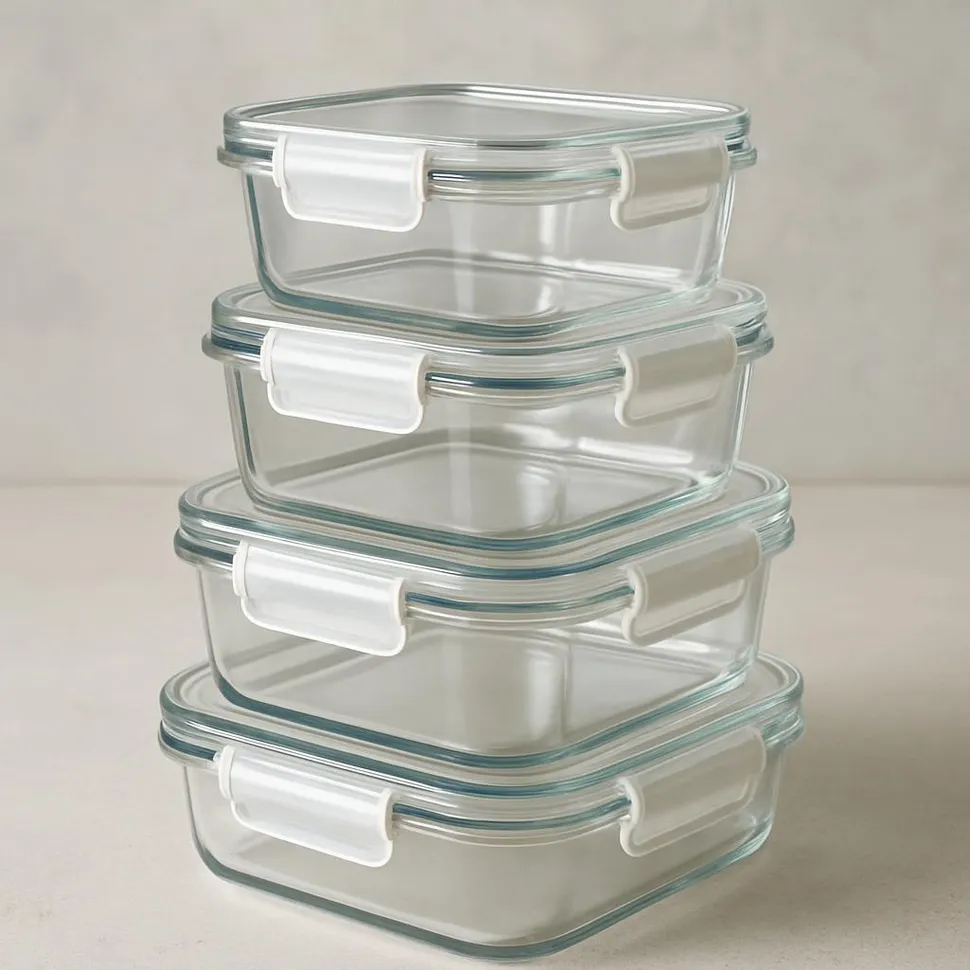
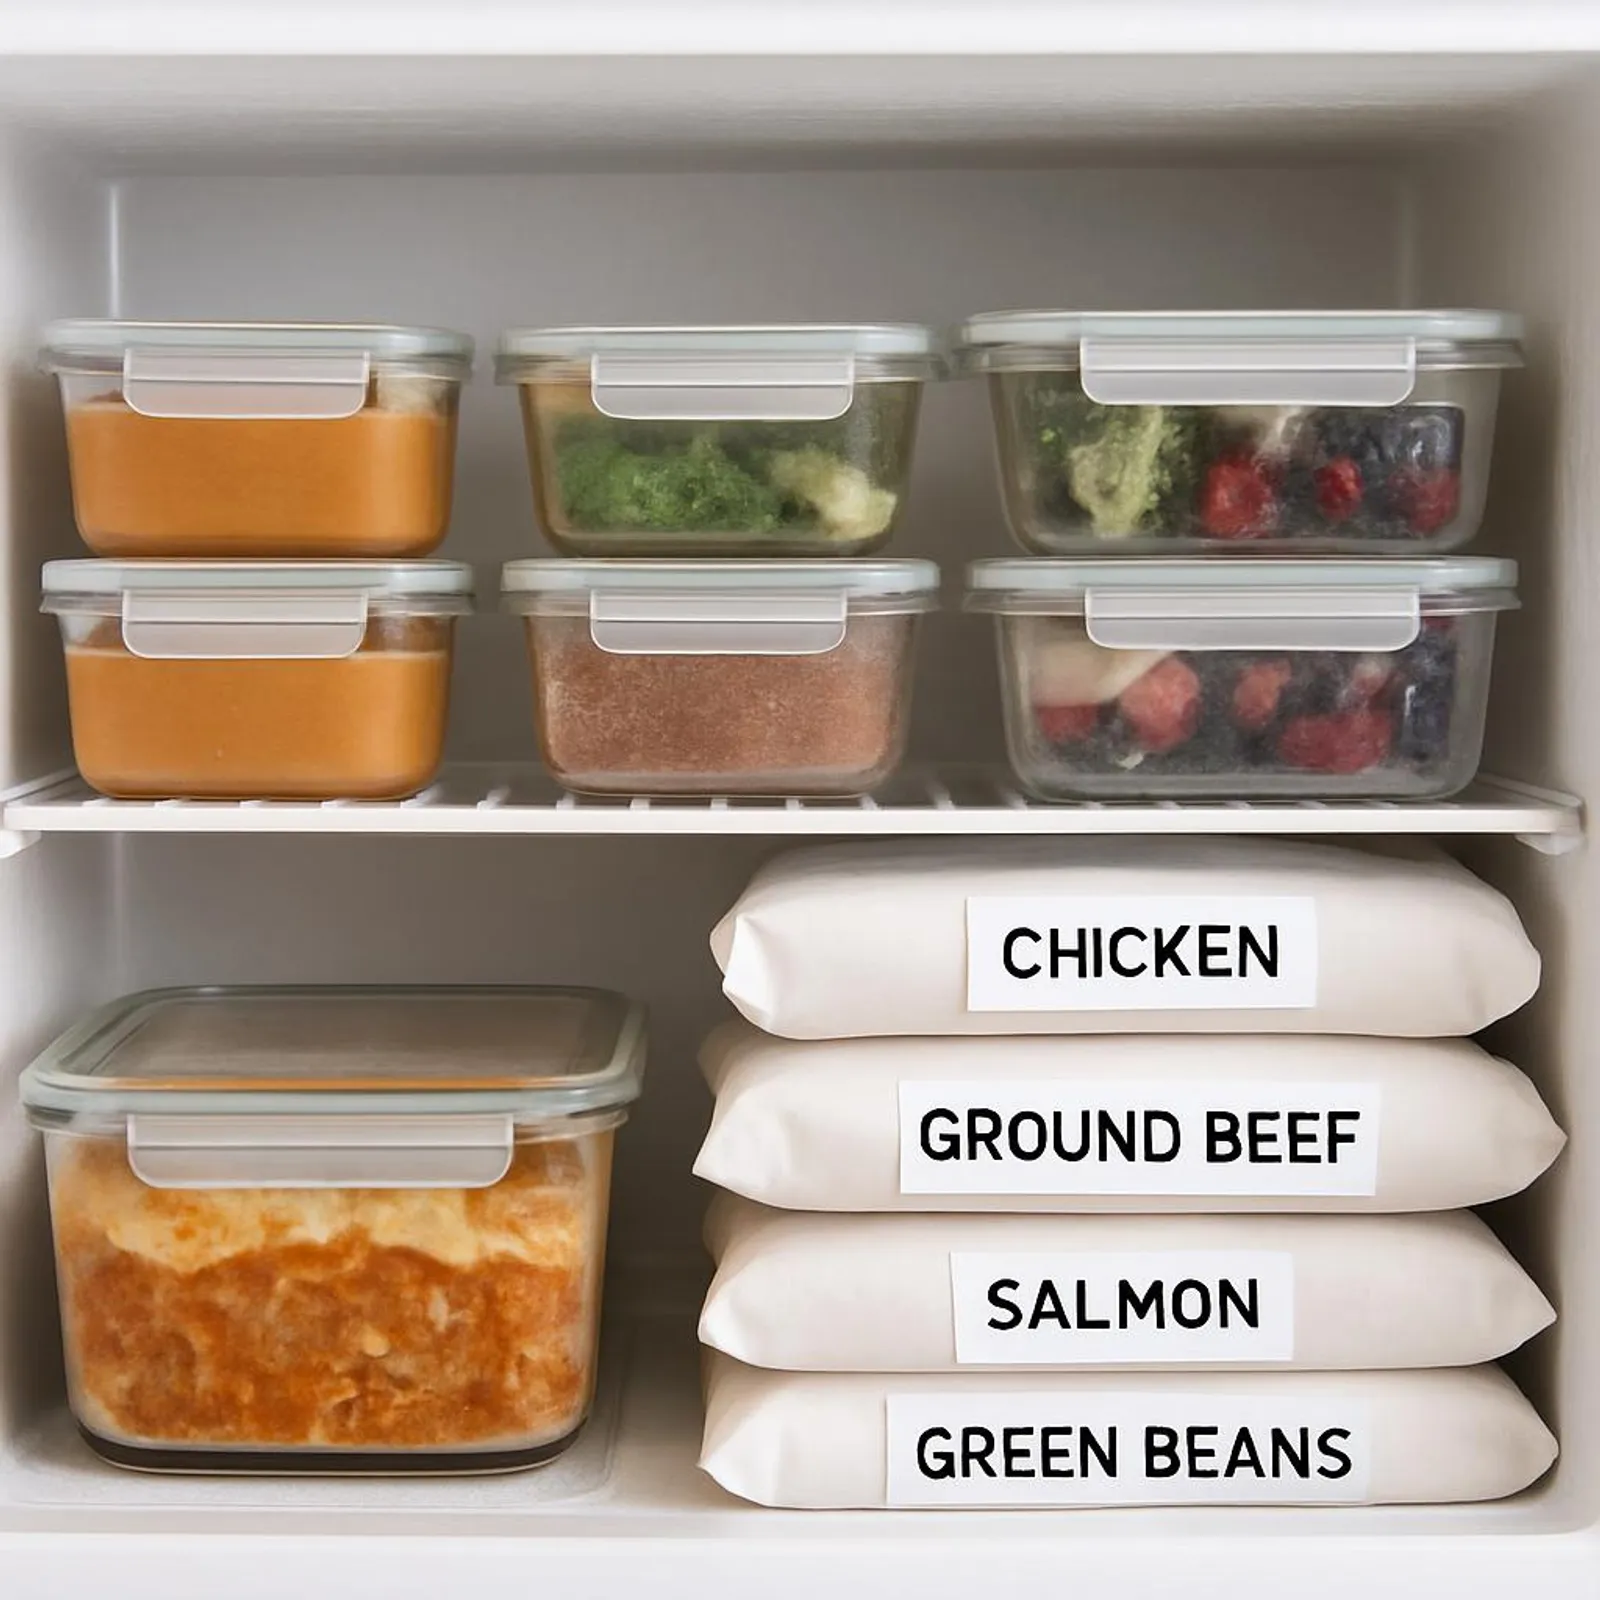
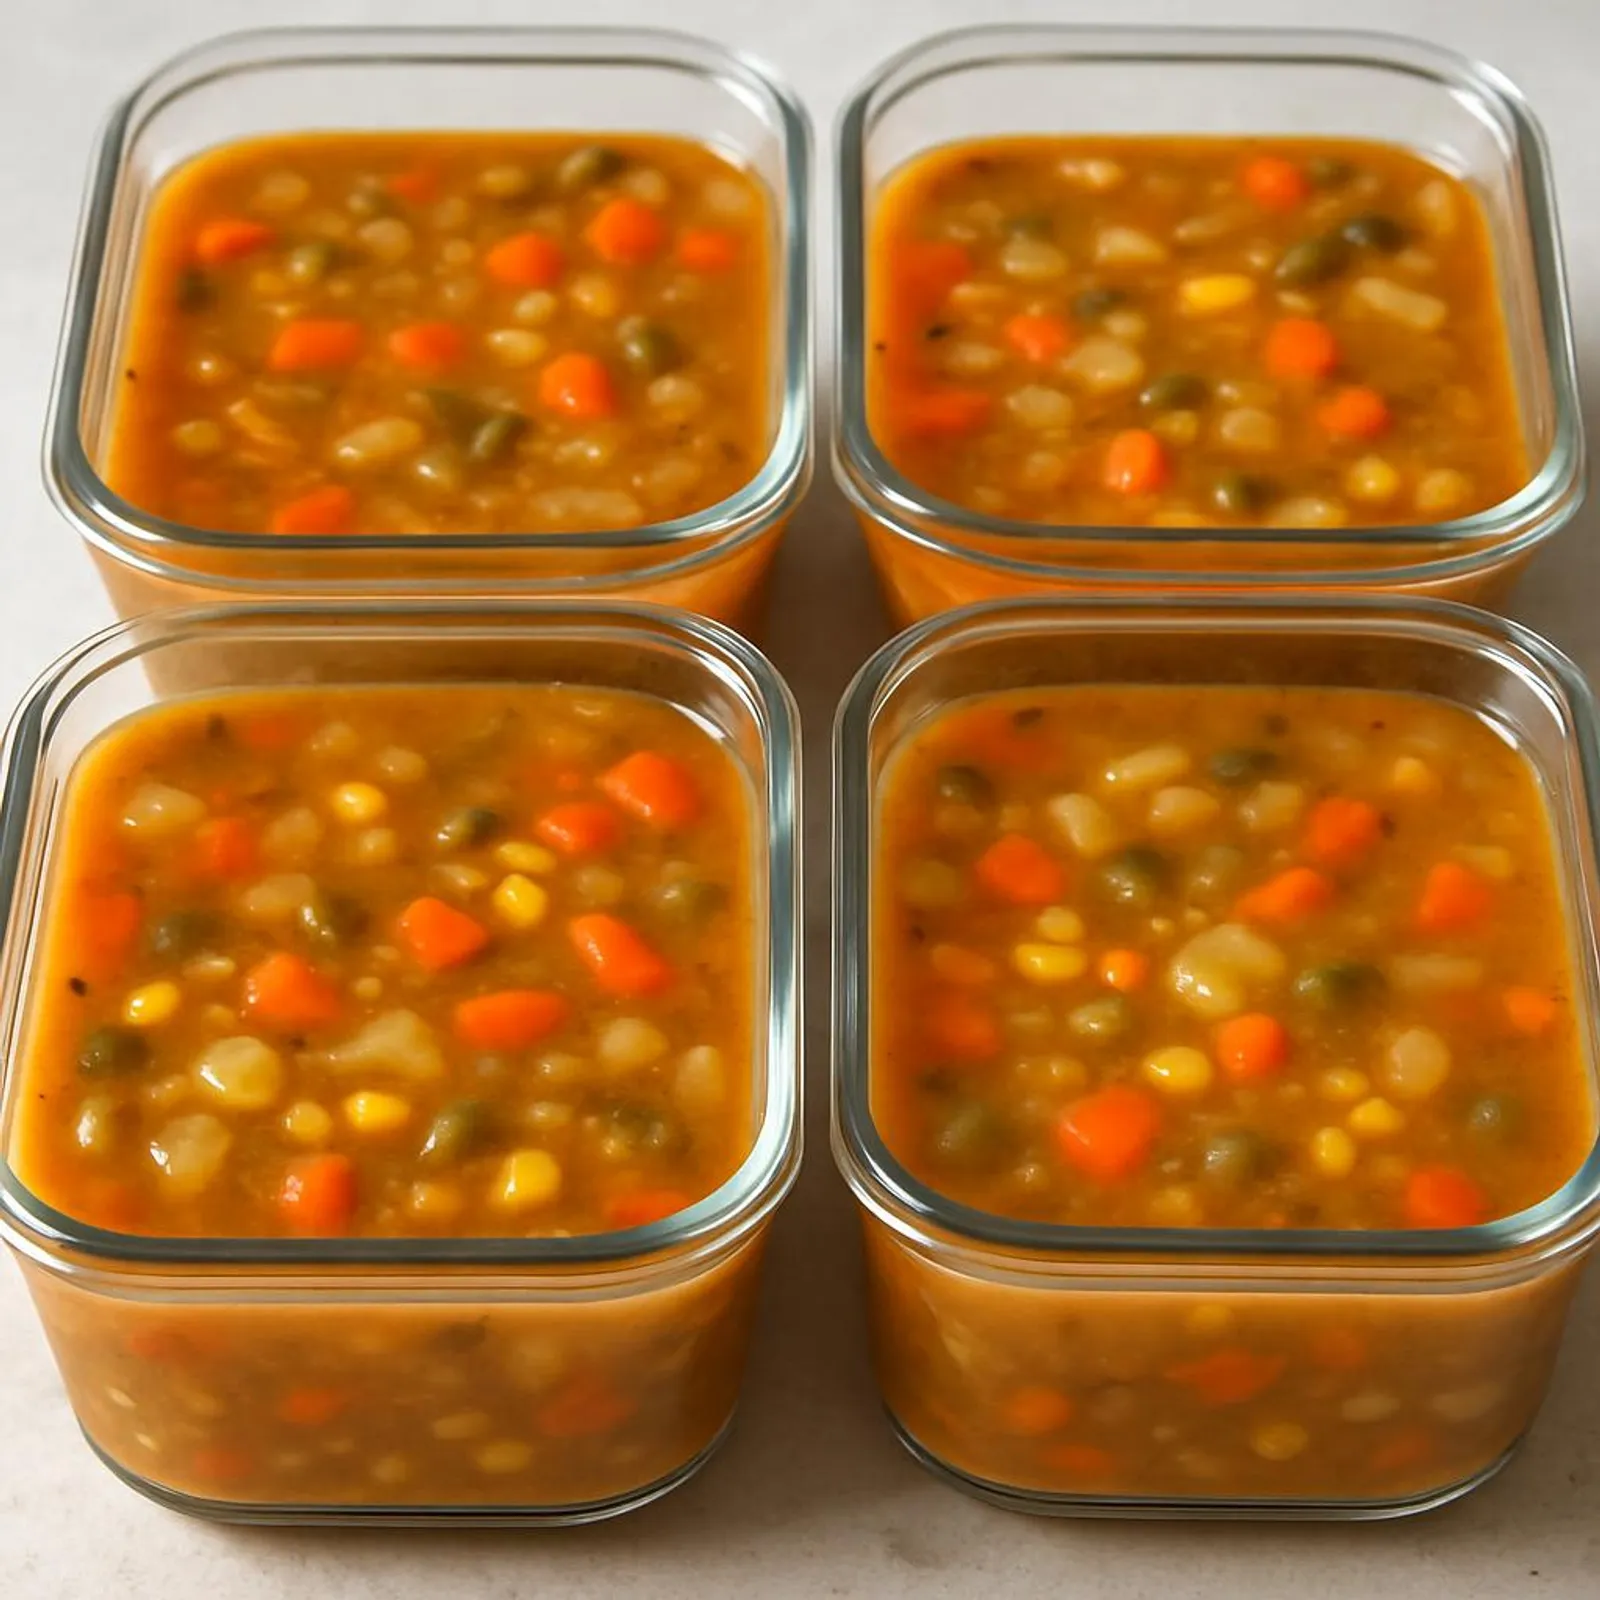
1) Glass containers with locking lids
Glass is your soup-stew-sauce superstar. Choose temperable, freezer-safe glass (many sets say ‘oven/freeze safe’).
How to win with glass:
- Cool soups and sauces fully in the fridge first.
- Fill up to just below the ‘shoulder’ line, leaving headspace.
- Freeze flat when possible so they stack like books.
- For jars, choose straight-sided ones (no shoulders) and fill only 3/4 full.
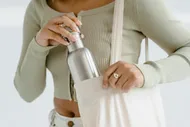
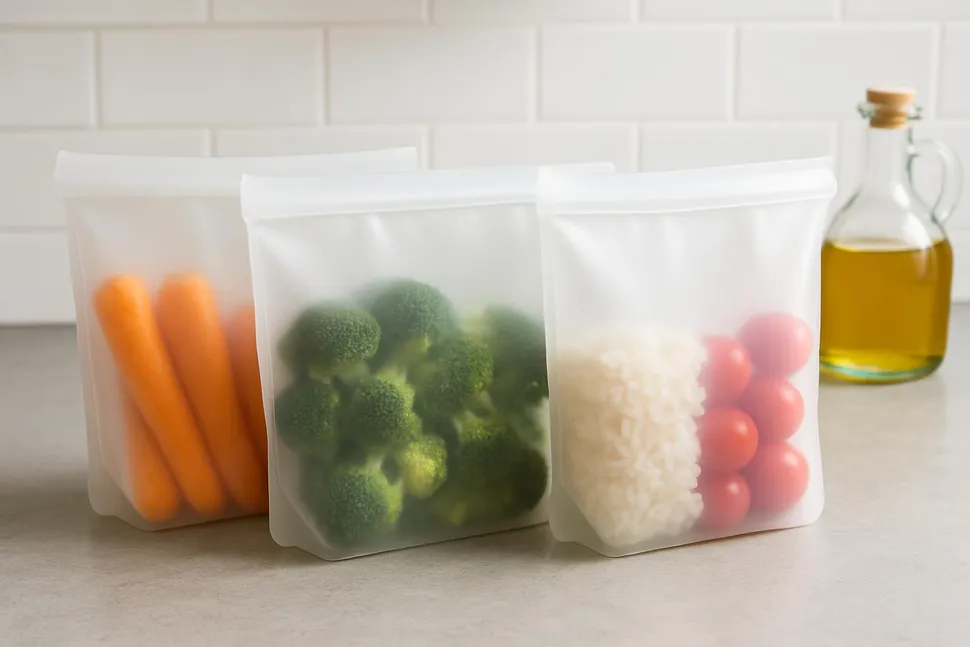
2) Silicone storage bags
Flexible, air-tight, and perfect for liquids, sauces, chopped fruit, and marinated tofu. They stand up for easy filling and lay flat for compact freezing.
Pro moves:
- Water-displacement trick: partially seal, submerge the bag (zipper above water) to push out air, then seal.
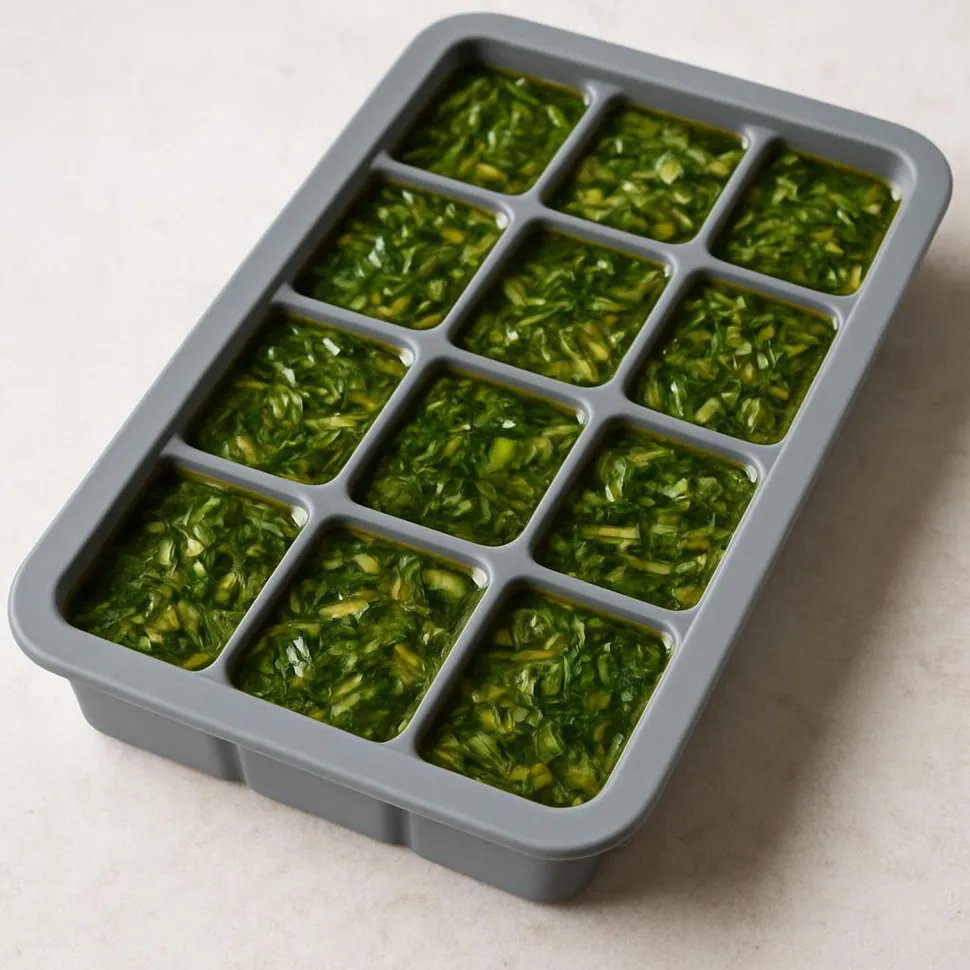
- Freeze sauces and pesto in thin sheets; snap off what you need.
- Label on masking tape so you can reuse the bag without ghost labels.
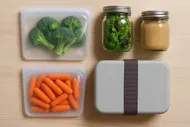
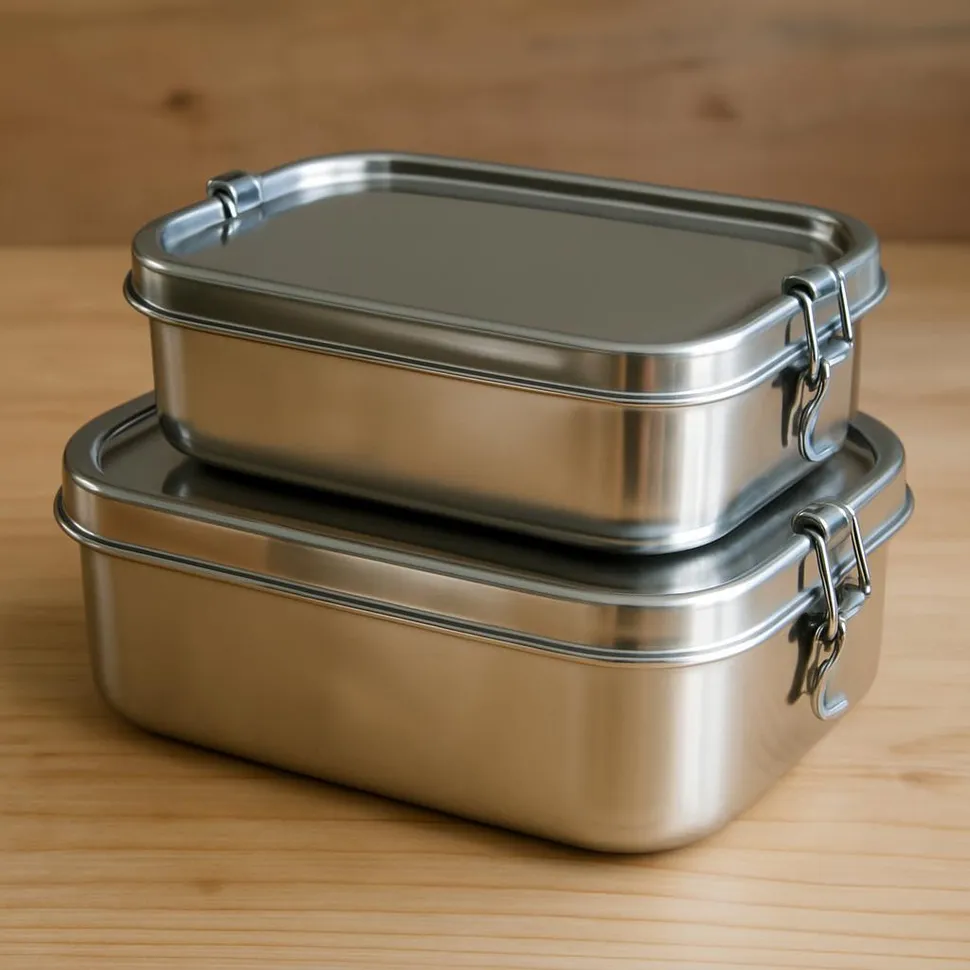
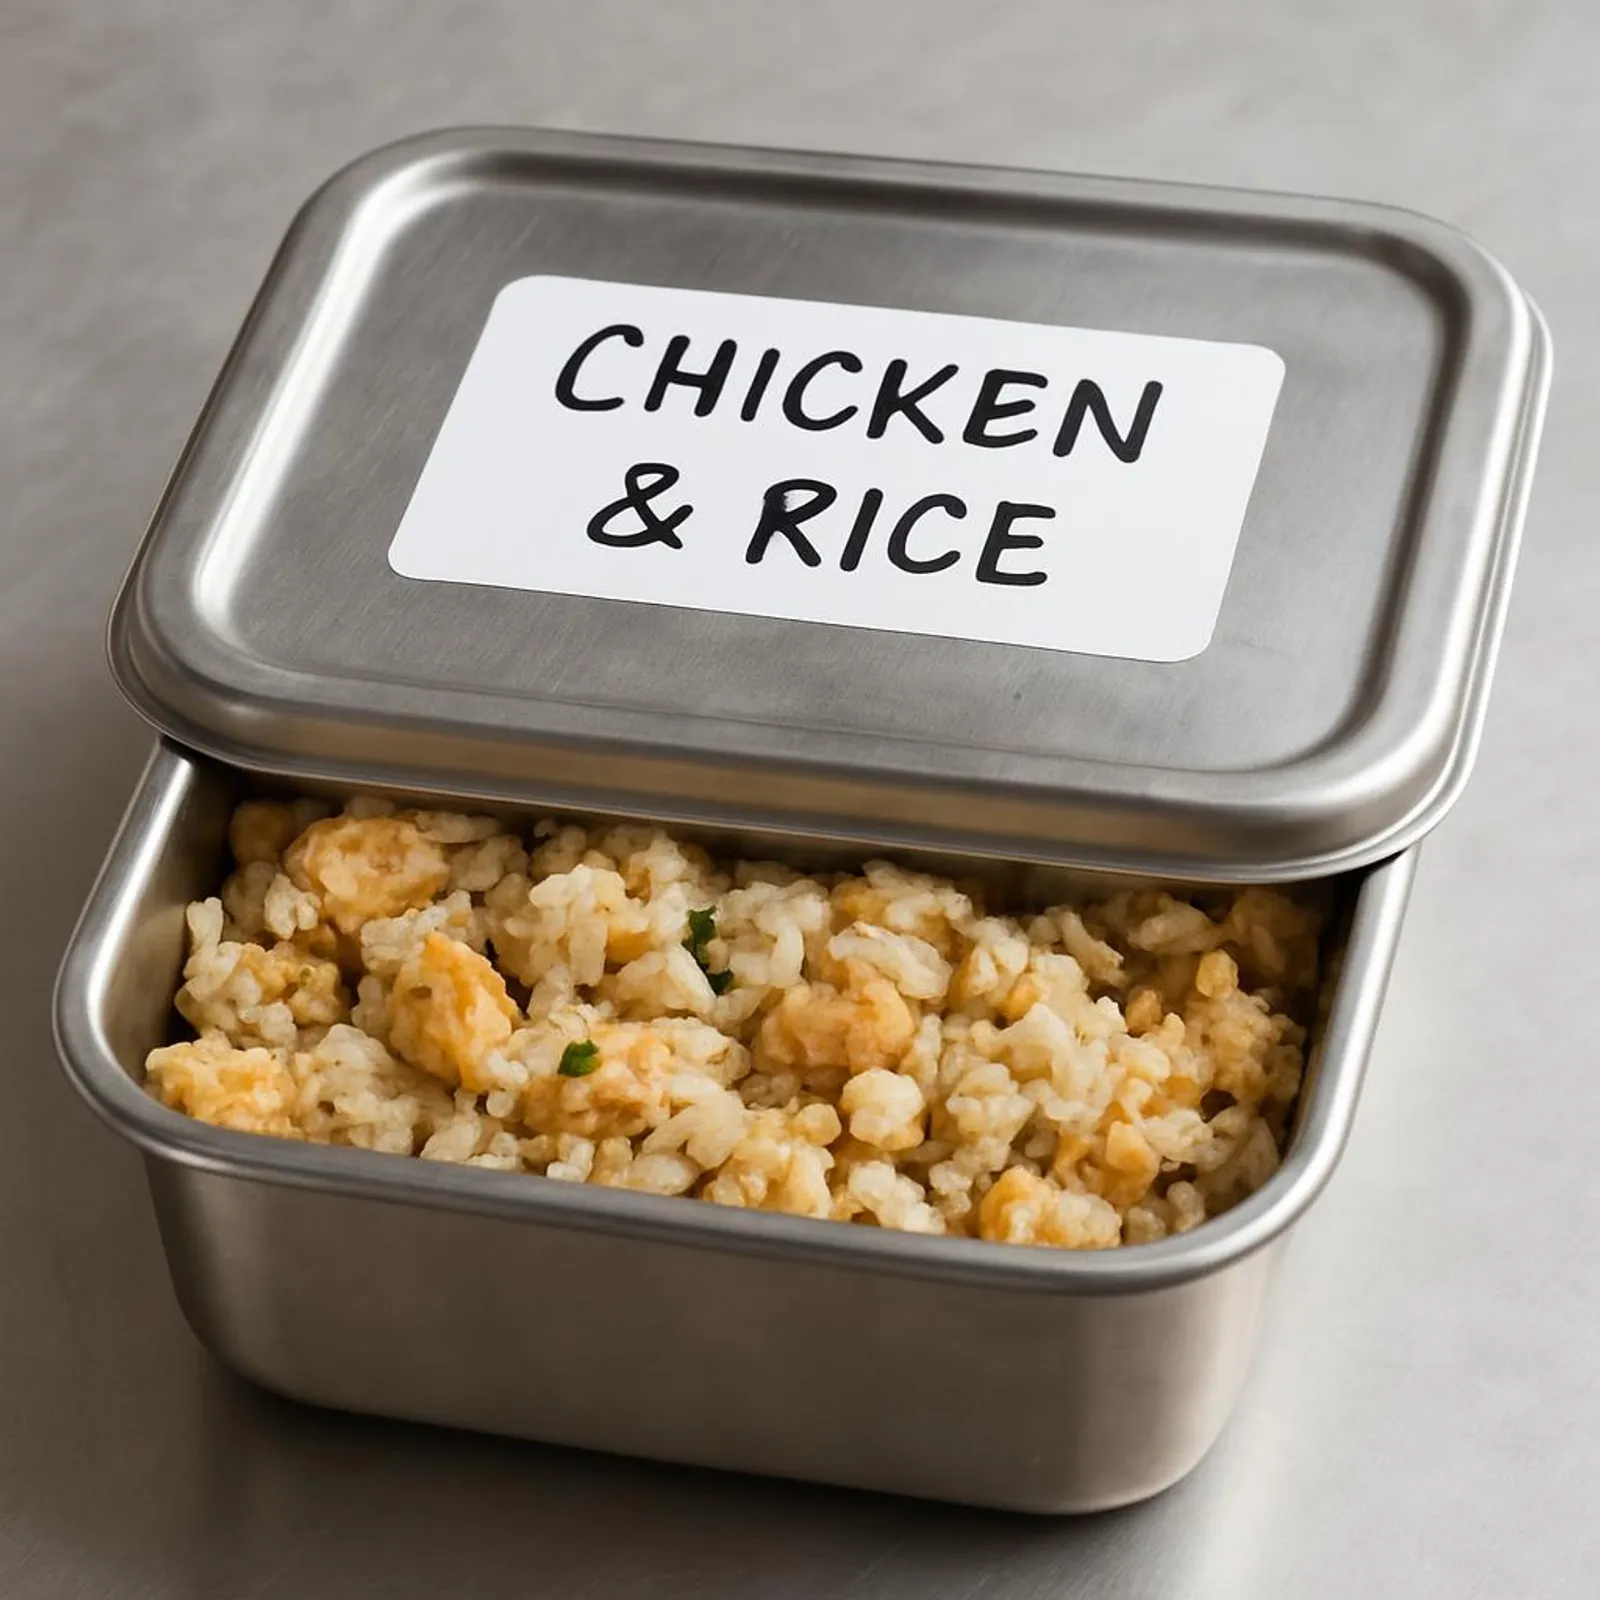
3) Stainless steel containers
Stainless chills fast (hello, fewer ice crystals) and is practically immortal.
Tips:
- Great for cut fruit, cooked grains, pastries, and meatballs.
- Use removable freezer tape or a wax pencil to label.
- If the lid is metal-on-metal, wrap the seal area with parchment for extra frost protection.
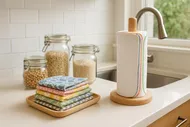
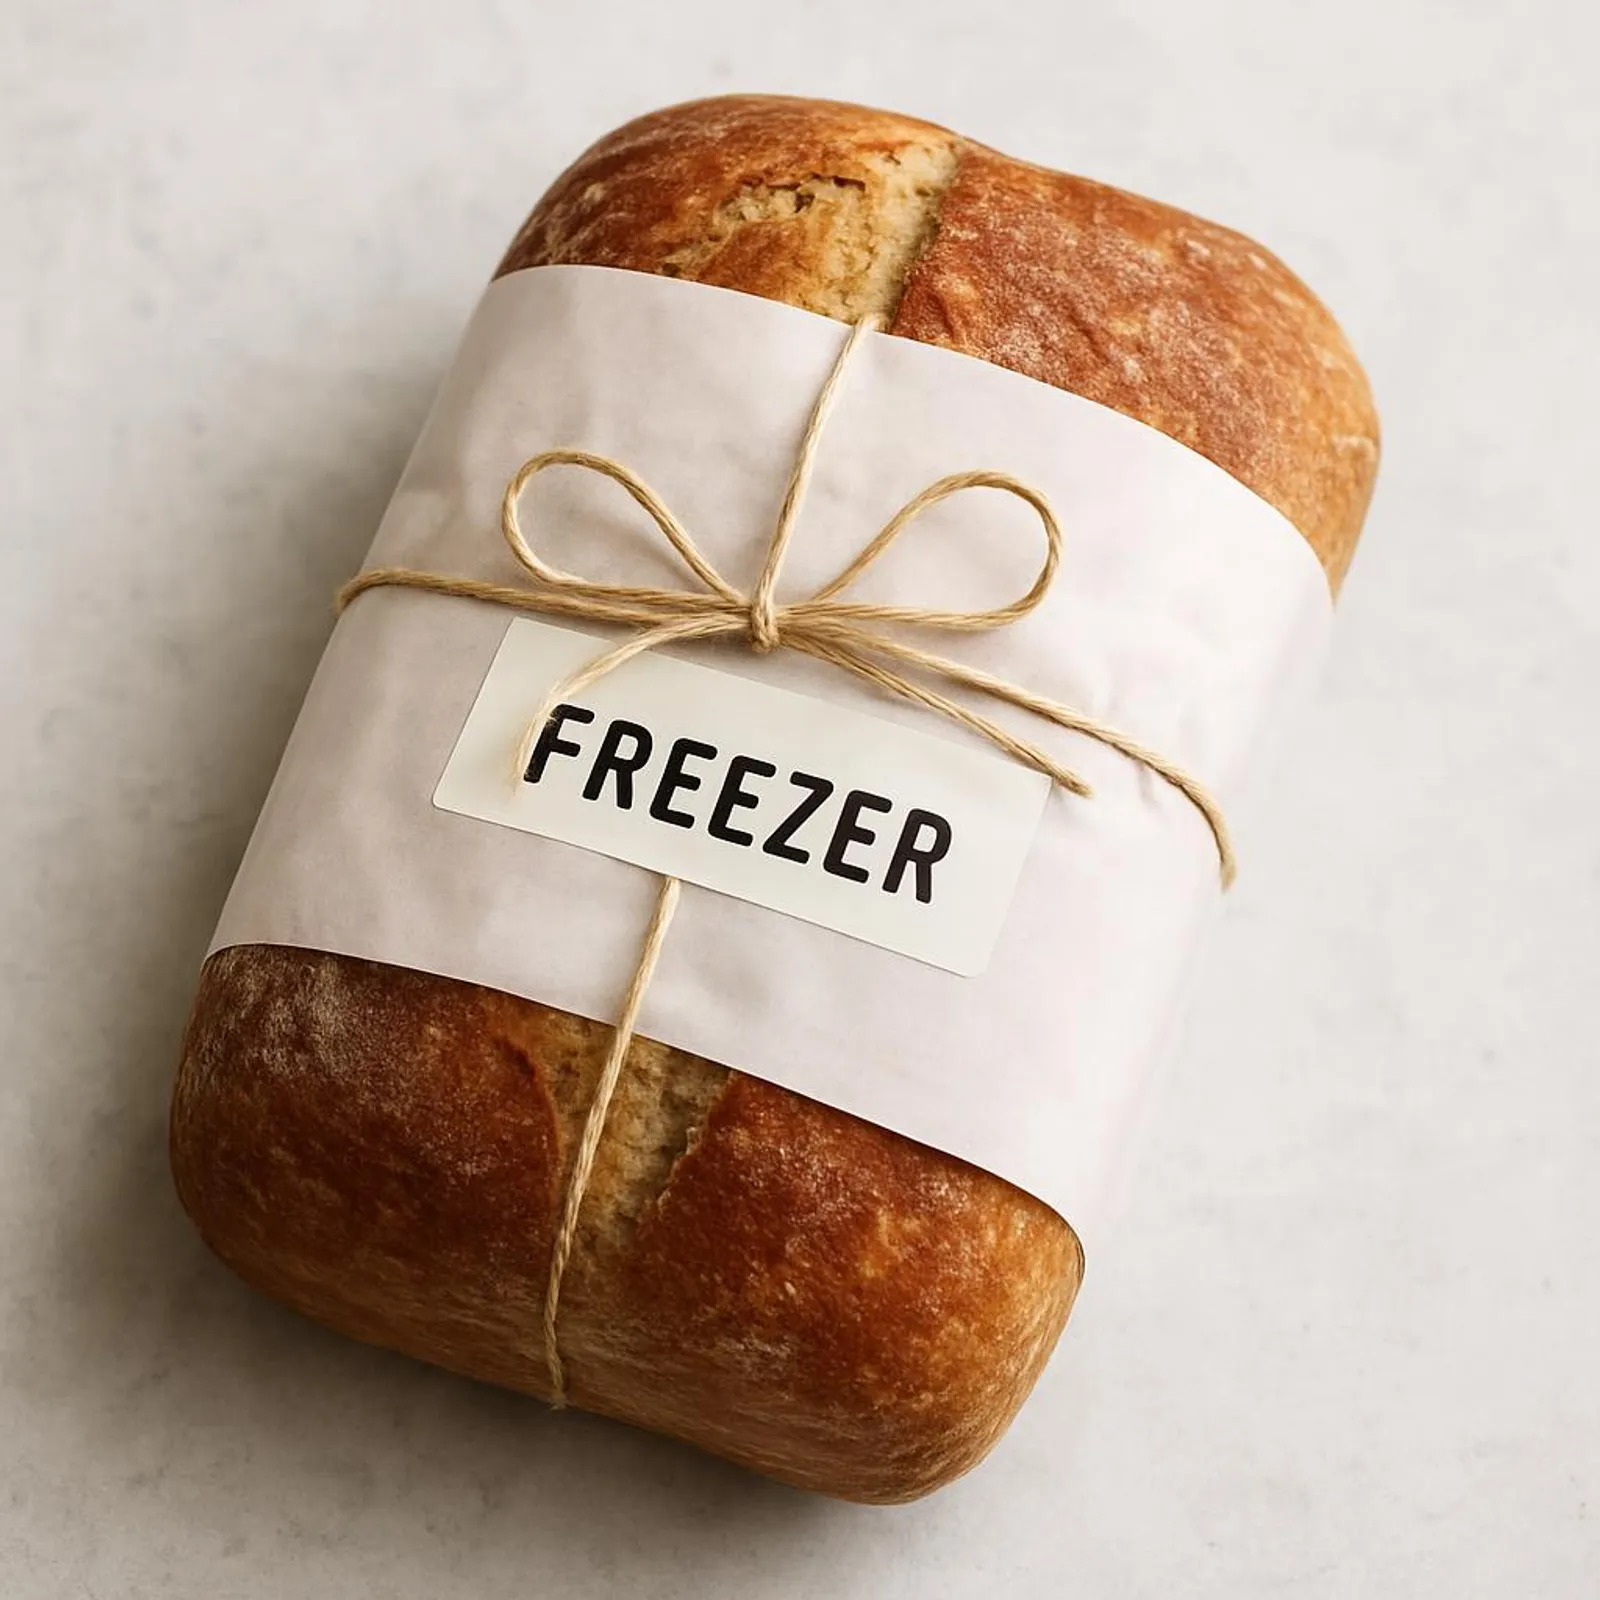
4) Paper wraps: parchment, paper, and beeswax
For bakery items, burritos, steaks, and homemade veggie burgers, go with a double wrap:
- Inner layer: unbleached parchment snug against the food.
- Outer layer: compostable paper bag or a reusable beeswax wrap for extra protection.
Pro tip: Frozen bread loves this method—slice first, wrap tightly, then grab pieces as needed.
Psst, if beeswax wraps are new territory, check storage tips here: The Plastic-Free Fridge: A Guide to Sustainable Food Storage That Actually Keeps Things Fresh.
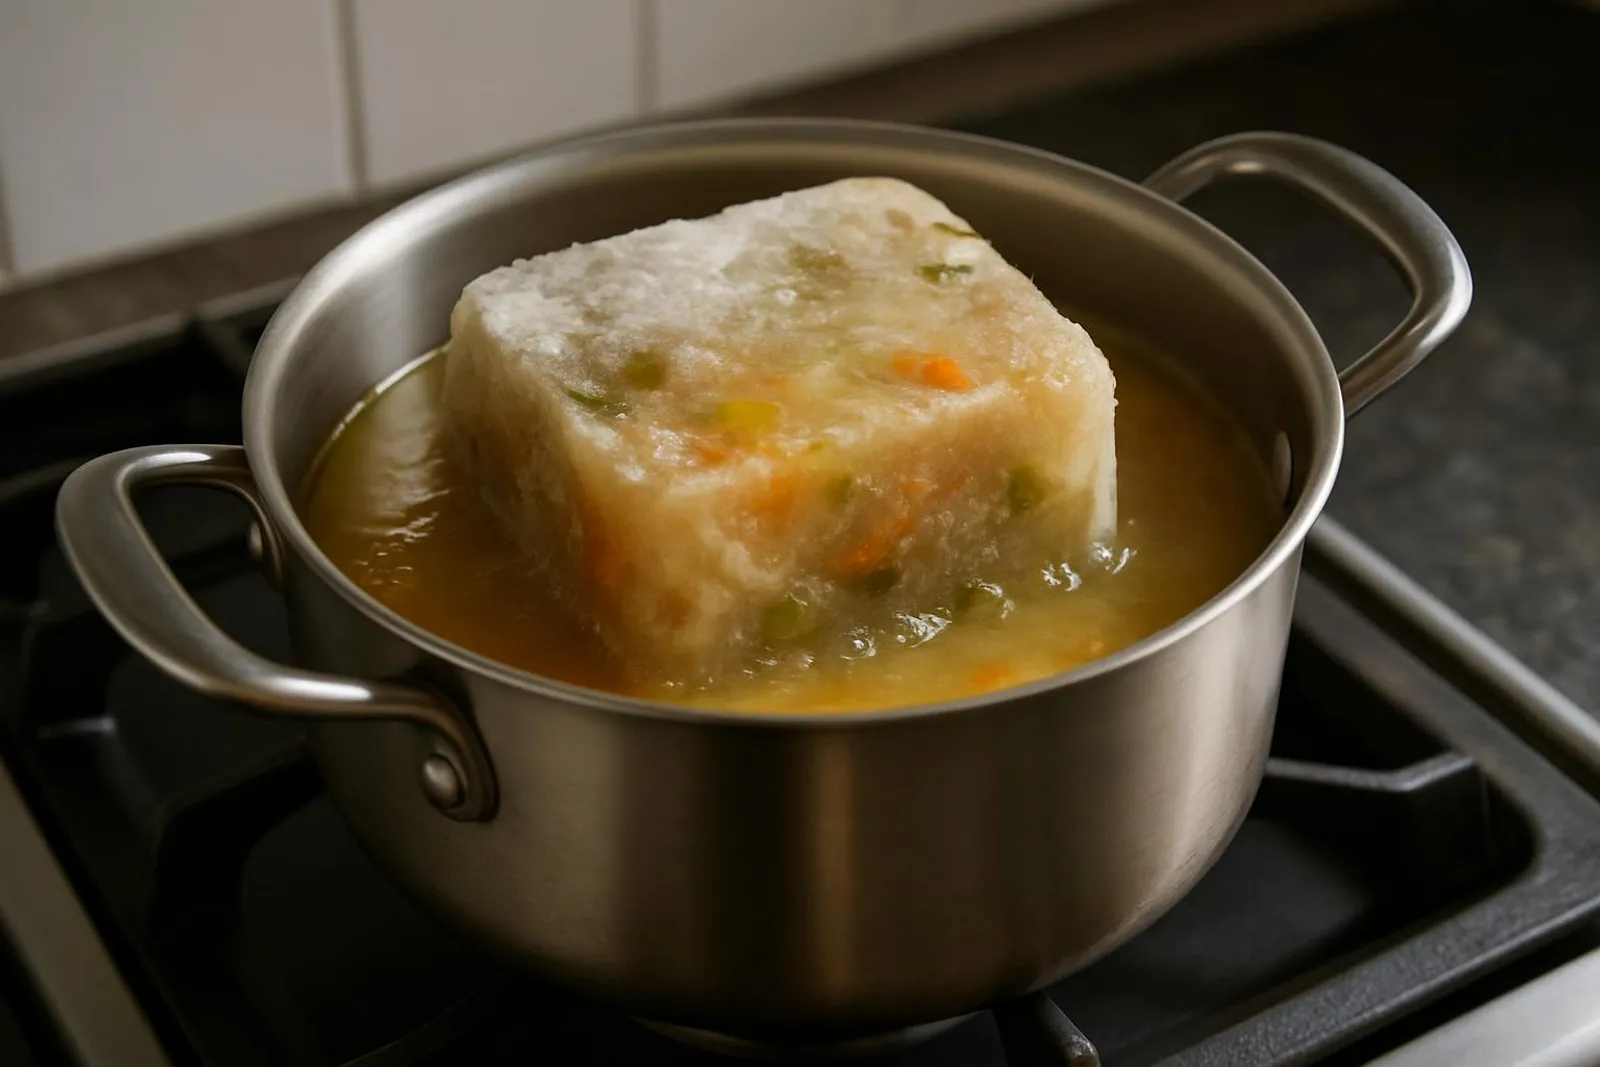
Freezer-burn avengers: how to keep texture and flavor perfect
Freezer burn is just dehydrated food from exposed air. Shield your meals like a cozy sweater.
- Chill first: Hot food in a cold space = condensation = ice crystals.
- Displace air: Press wraps close; use water displacement for bags.
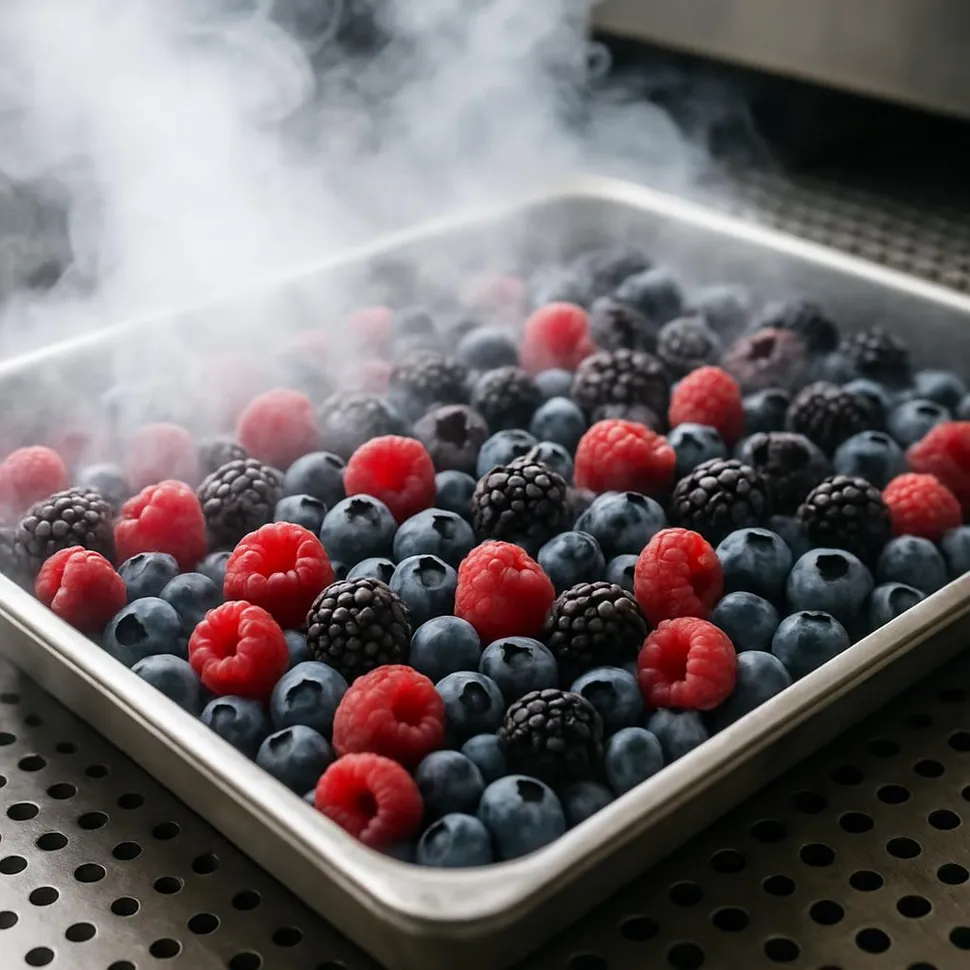
- Pre-freeze on a tray: Berries, dumplings, cookies, meatballs—freeze loose on a baking sheet 1–2 hours, then package.
- Blanch vegetables: 2–4 minutes in boiling water, then ice bath before freezing to keep color and texture.
- Grease the parchment: For sticky items, a teaspoon of oil or a spritz on the parchment layer helps.
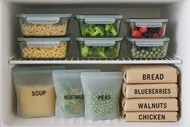
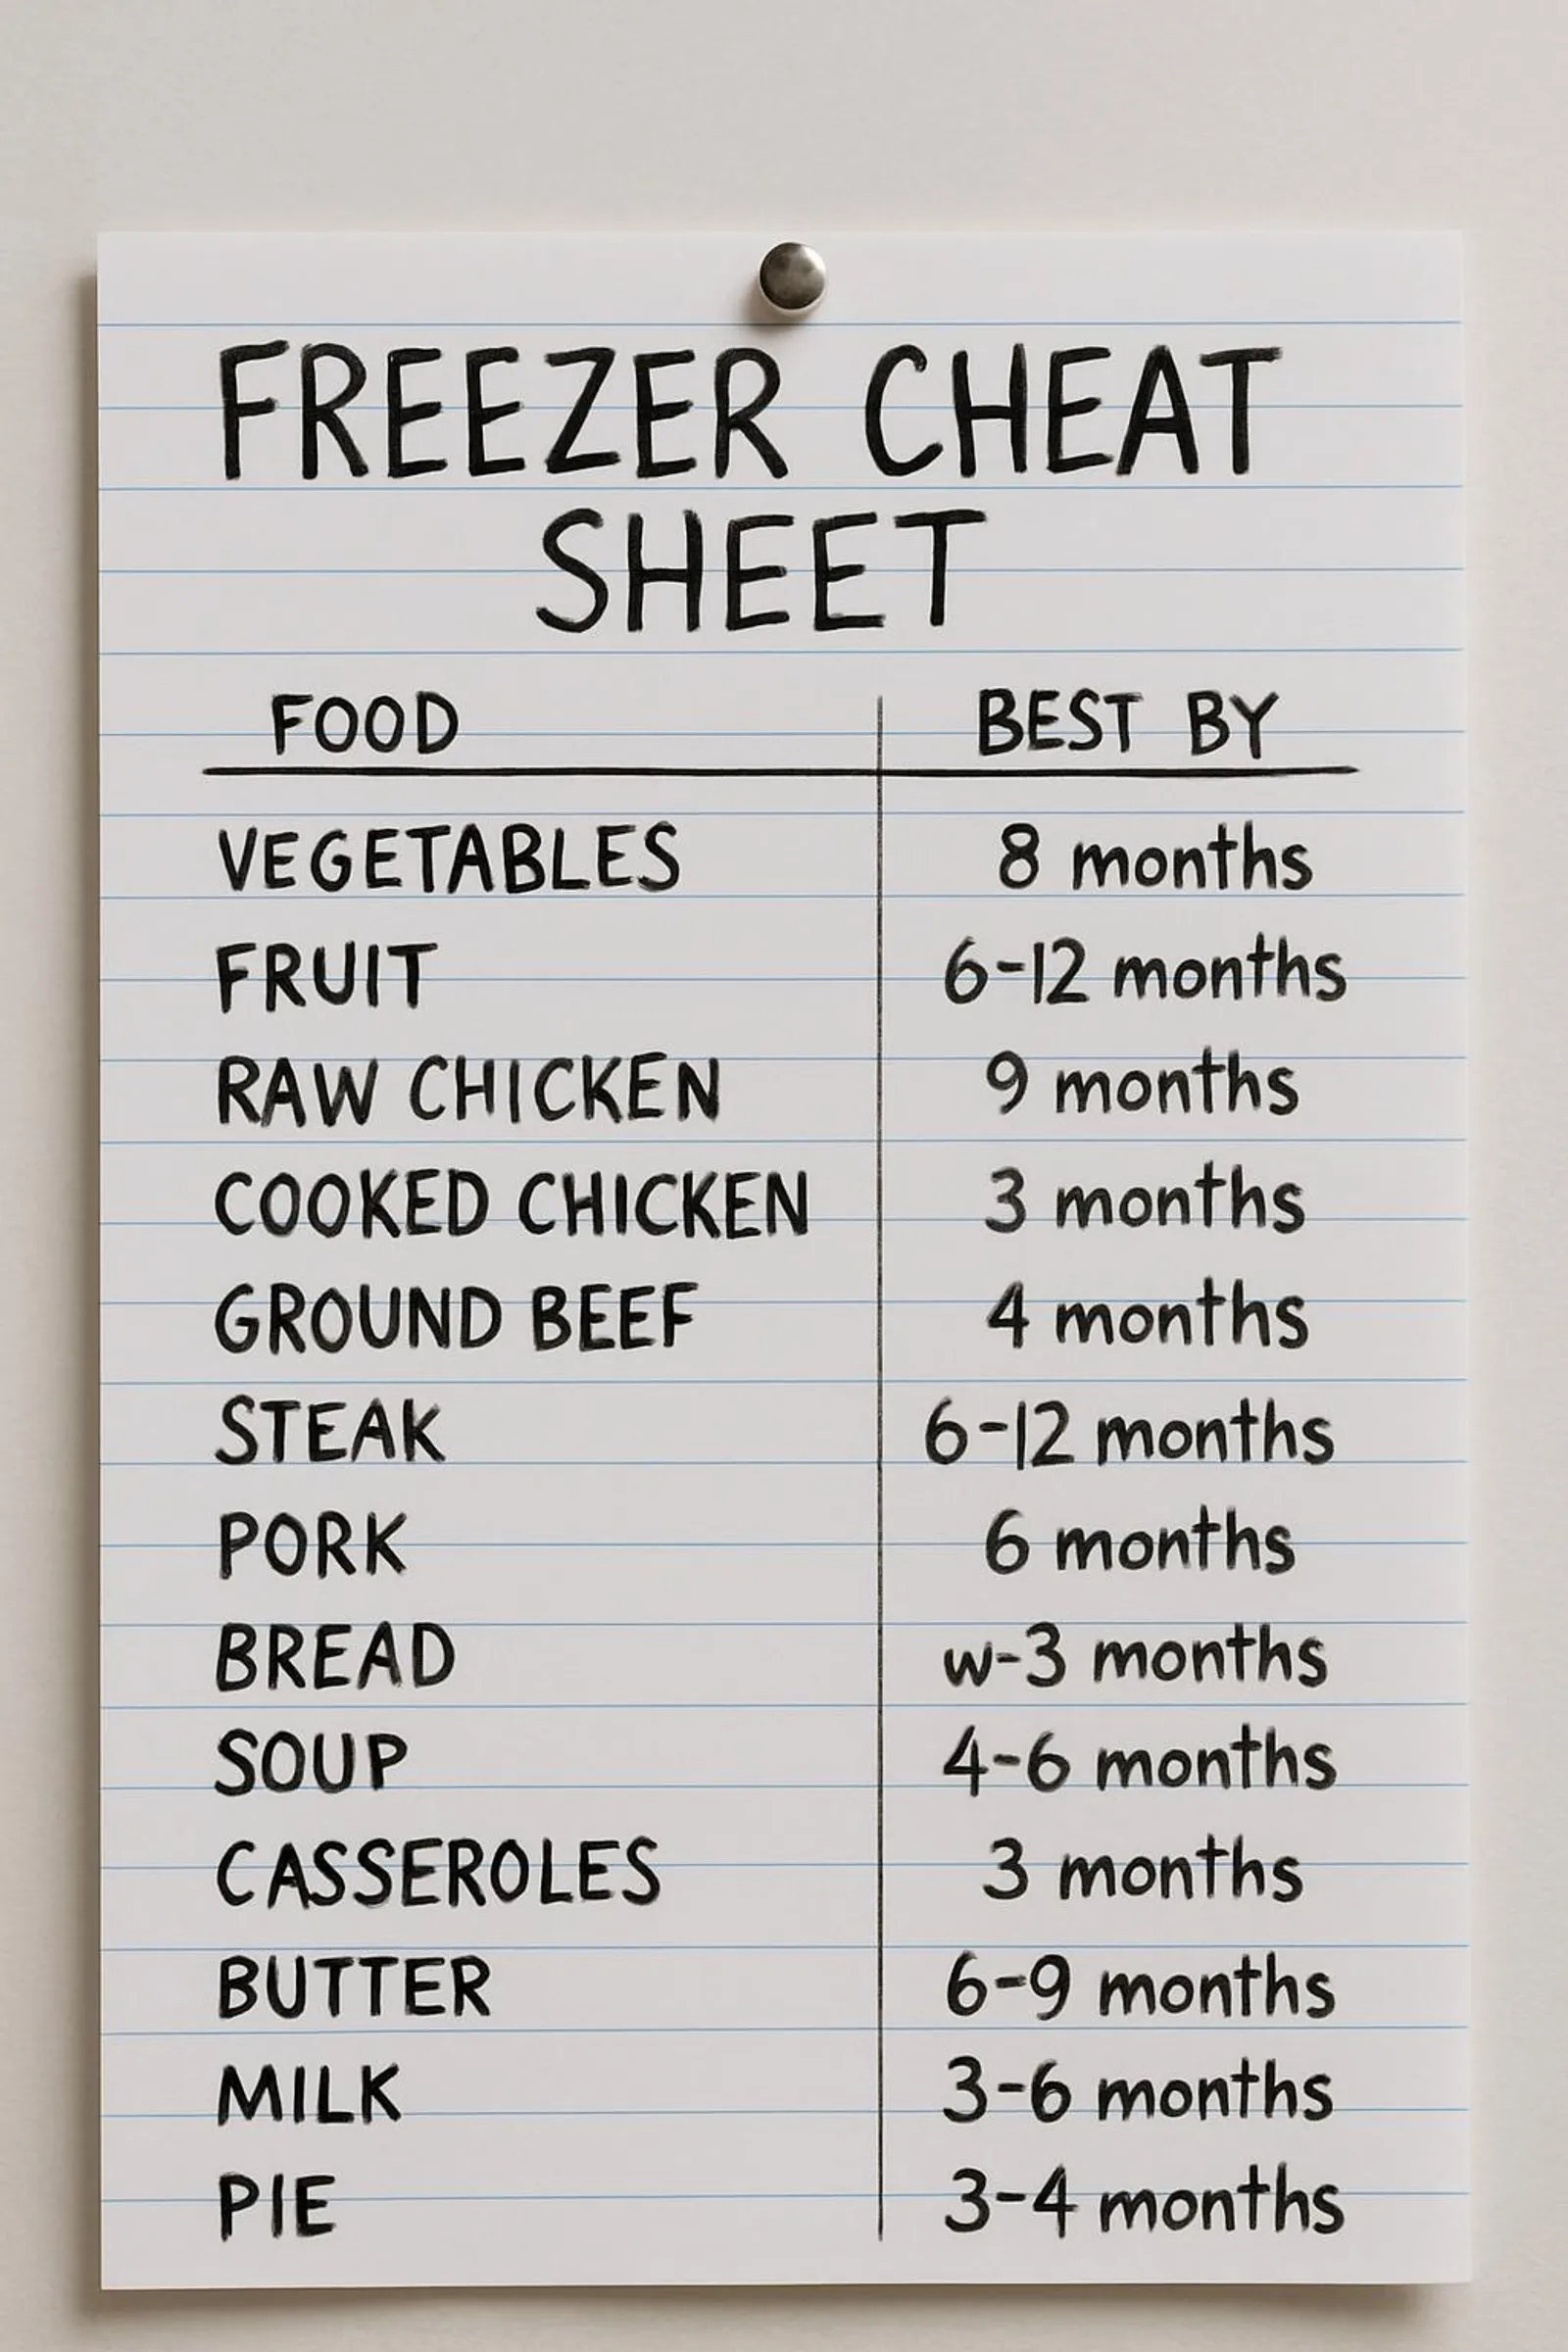
The zero-waste freeze-by guide
Use these friendly ‘use by’ windows for best quality. Your nose and good sense get a vote too.
- Cooked grains and beans: 2–3 months
- Soups, stews, and chili: 3–4 months
- Baked goods (bread, muffins, tortillas): 2–3 months
- Raw fruit (berries, bananas, mango): 6–8 months
- Blanched veggies (broccoli, green beans, corn): 8–10 months
- Plant-based proteins (tofu, tempeh; cooked): 3 months
- Dairy-free sauces and pesto: 3 months
- Cooked proteins (chicken, beef, legumes-based loaf): 2–3 months
- Stock and broth: 4–6 months
Bonus: Start a tiny ‘eat me first’ bin so older items get used in your next meal plan. If you need inspiration for a use-what-you-have week, bookmark this reader fave: Pantry Purge Party: Use-What-You-Have Week (and Stop Buying Third Cousin Couscous).
Thawing like a pro
The right defrosting method protects texture, flavor, and safety.
- Fridge overnight: The gold standard. Place containers in the fridge the night before use.
- Cold water bath: Seal tightly, submerge in a bowl of cold water, change water every 30 minutes. Speeds up defrosting safely.
- Stovetop or oven reheat: Soups, stews, and casseroles can go directly from frozen to heat—just add time and stir occasionally.
- Bake-from-frozen: Muffins, cookies, and breads often warm beautifully straight from the freezer.
- Microwave with care: Useful in a pinch, but watch hot spots and texture for delicate items.
⚠️Safety first
Avoid thawing at room temperature for meat and dairy-based dishes. Keep cold foods cold (below 40°F/4°C). When in doubt, reheat to at least 165°F/74°C.
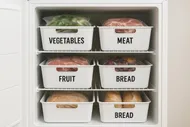
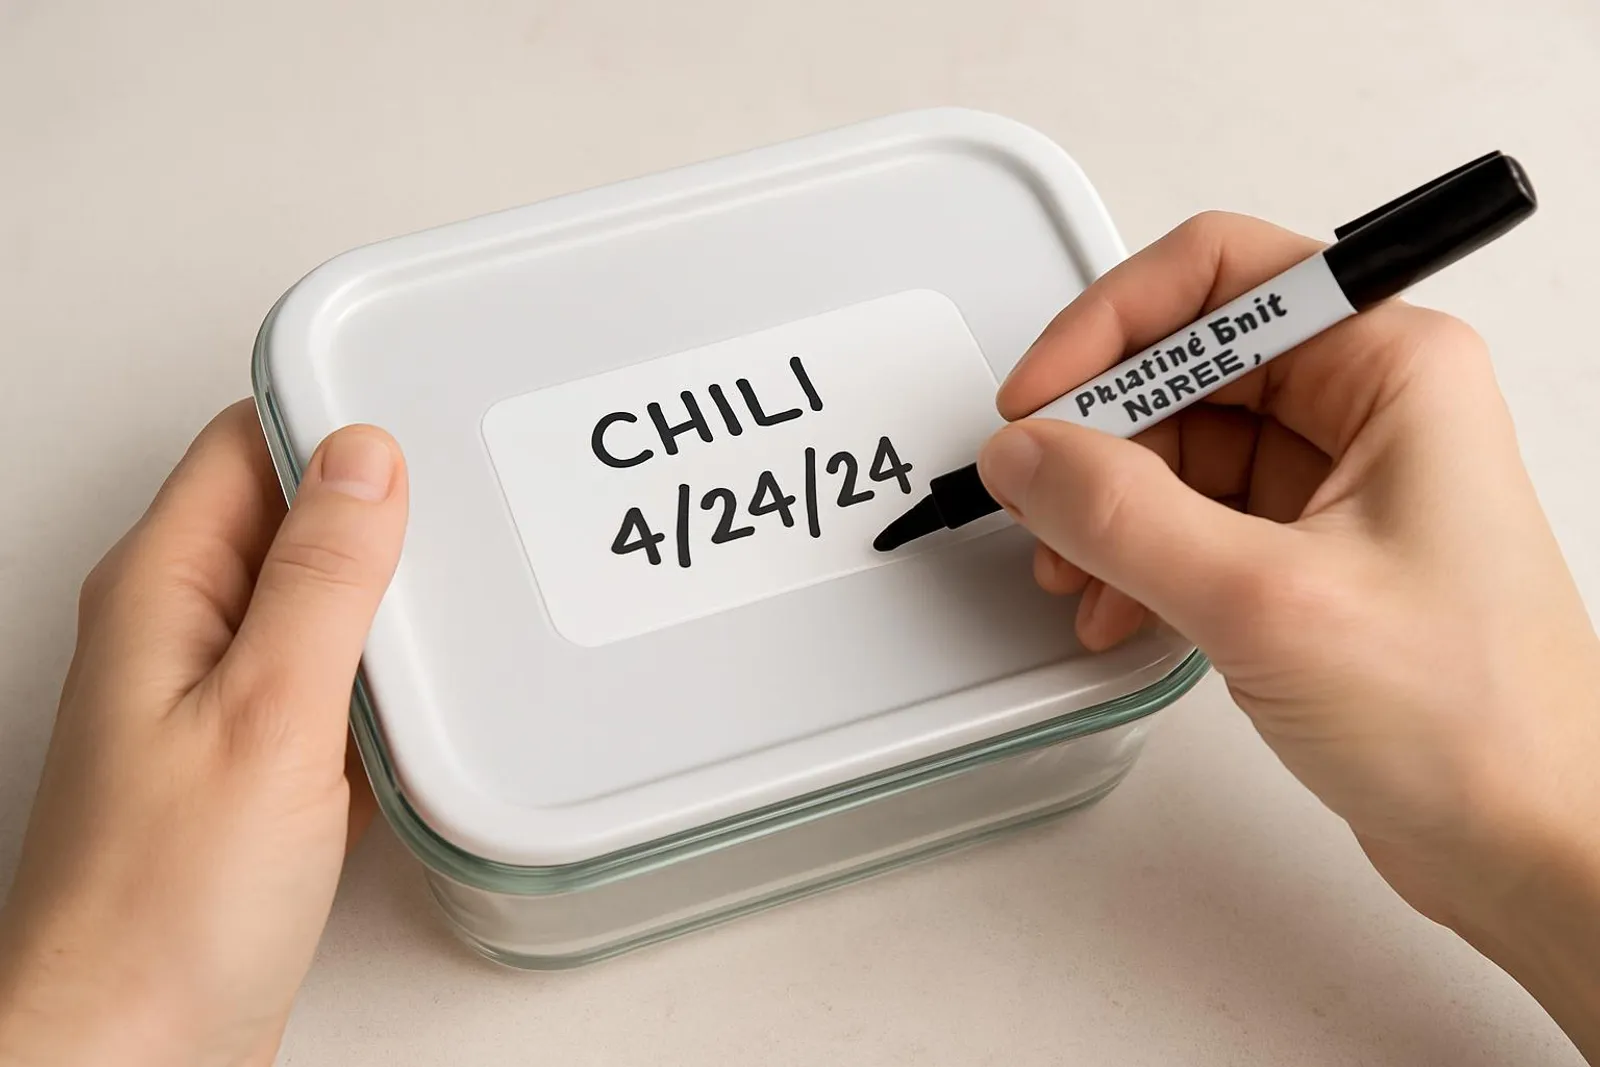
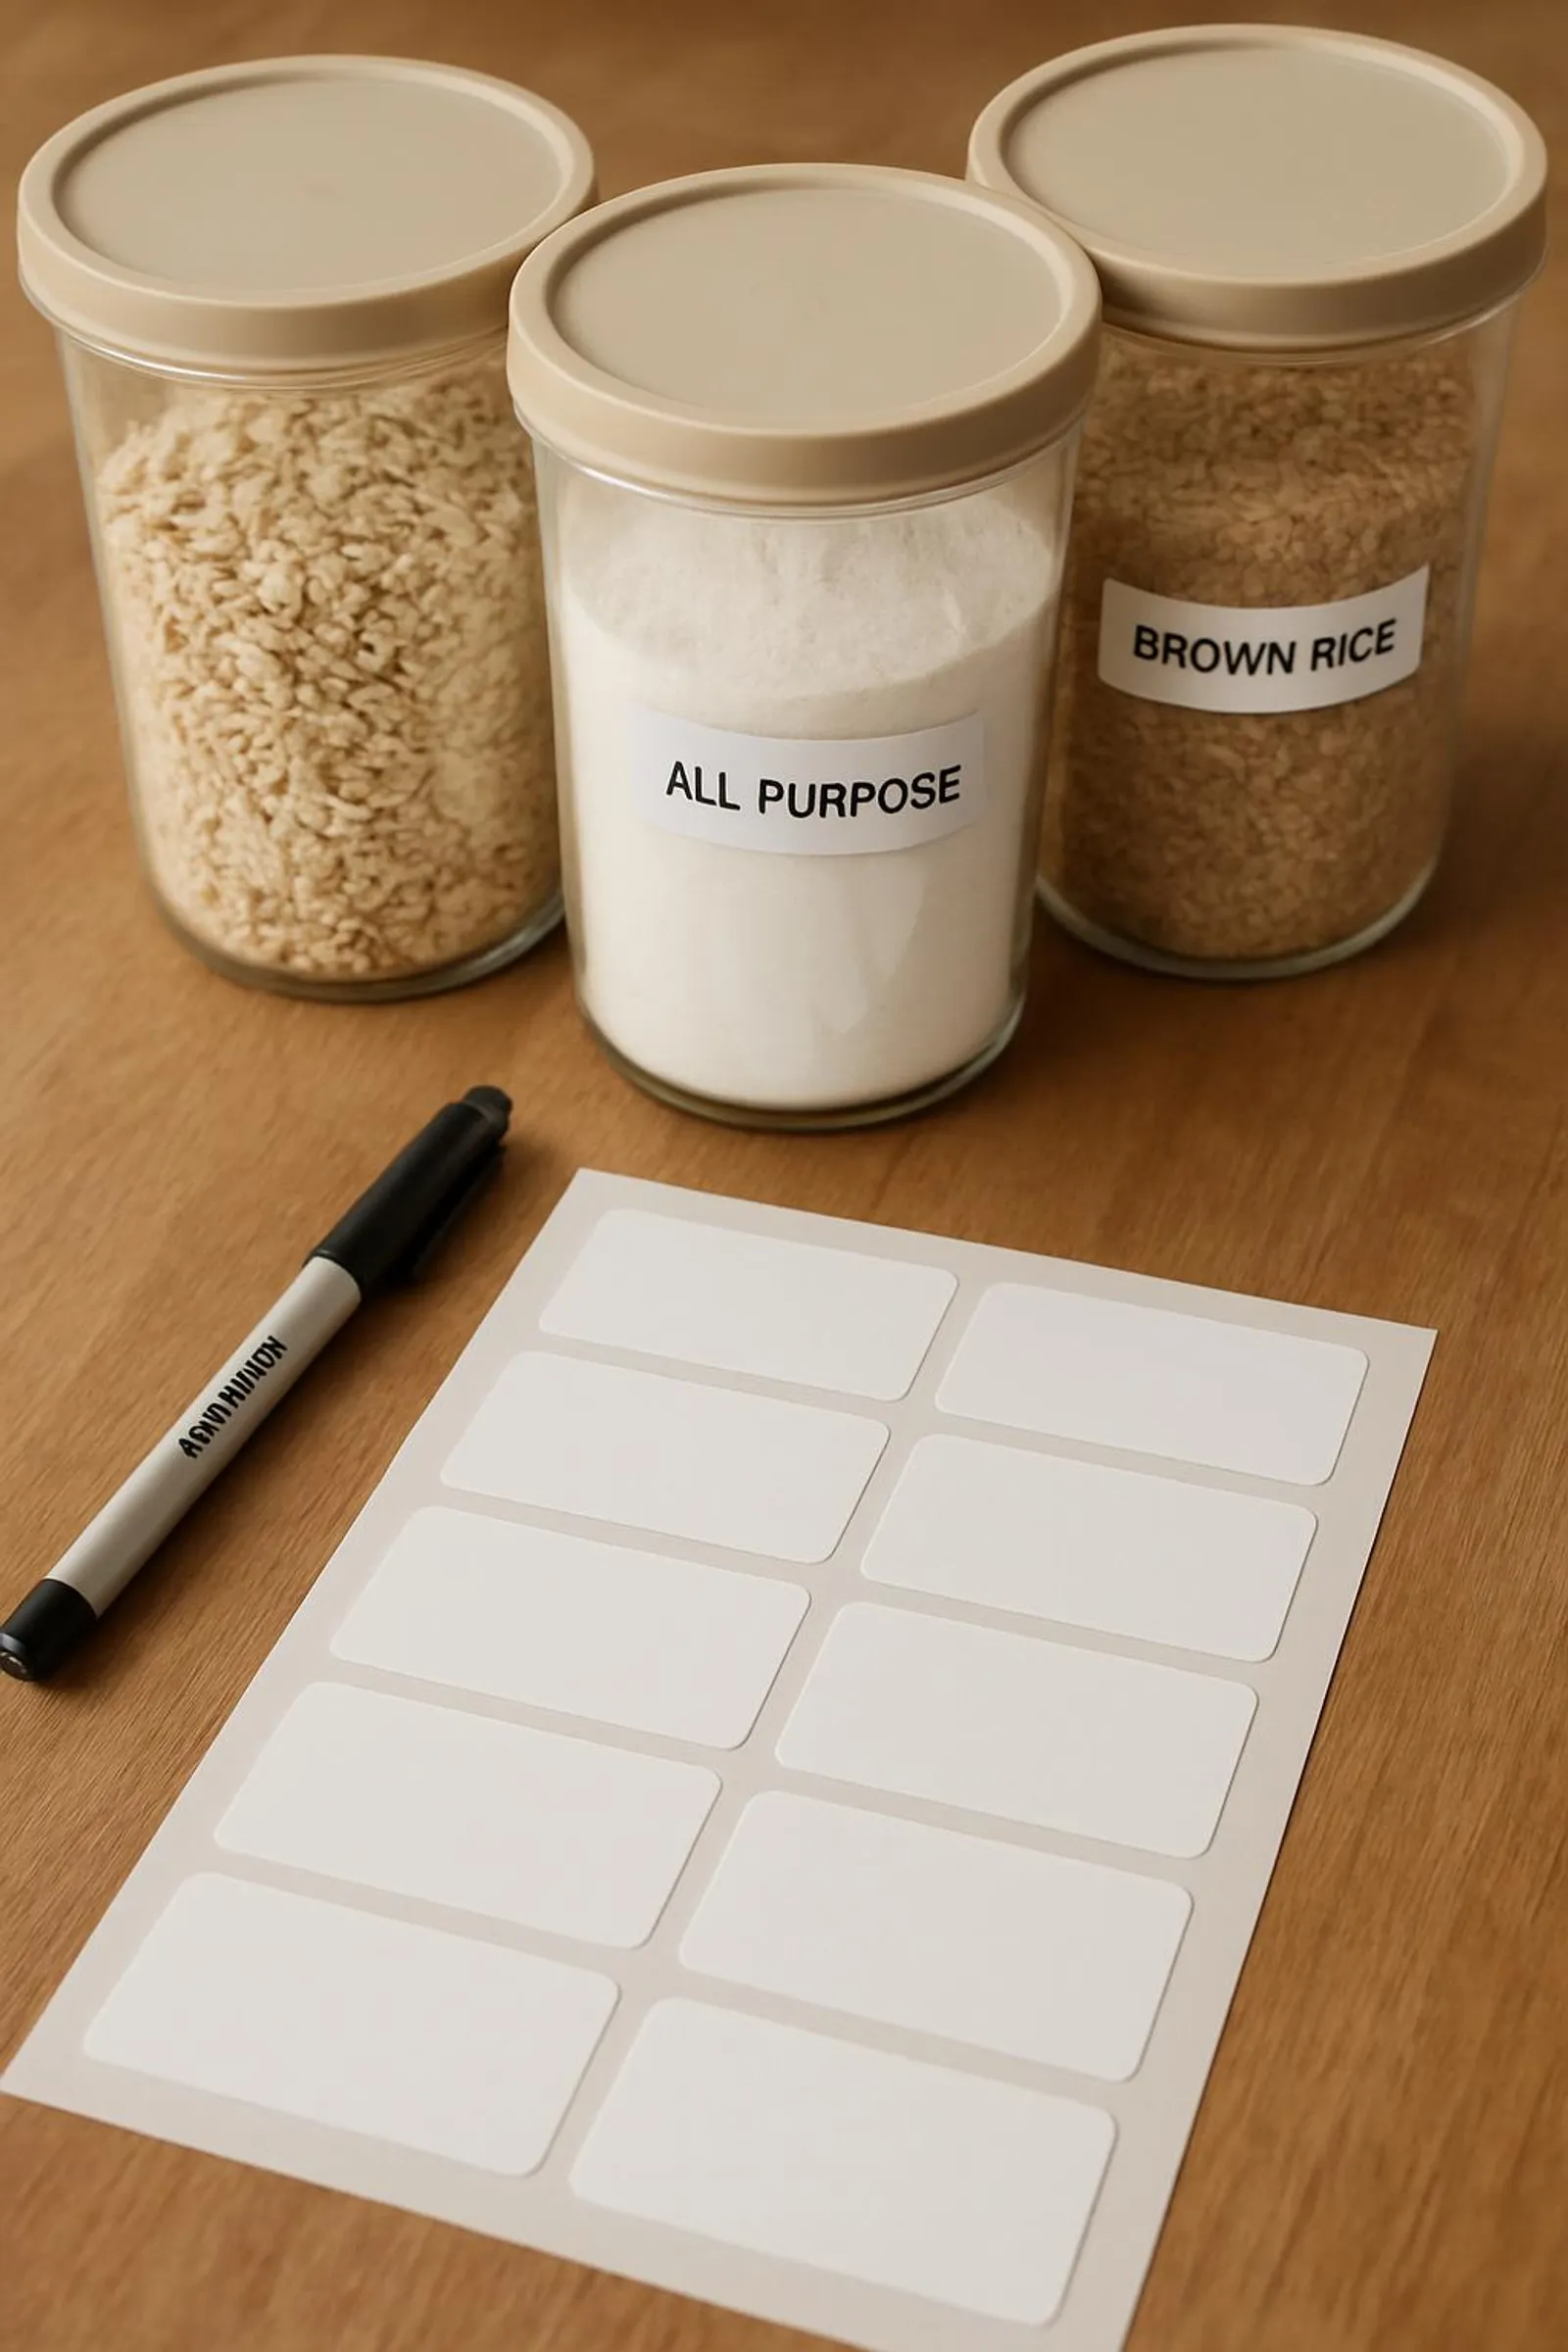
Labels that actually get used (plus a printable-style template)
A simple label avoids mystery meals. Keep a marker or wax pencil clipped to your freezer shelf and a roll of masking or freezer tape nearby.
What to include:
- Item and key ingredients (handy for allergies)
- Quantity or portion size
- Freeze date and ‘use by’ date
- Reheat method or notes (e.g., ‘bake 20 min at 350°F’)
Copy and print this onto standard 2x4 labels (10 per sheet), or write it onto tape:
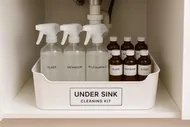
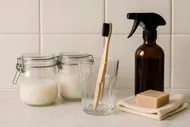
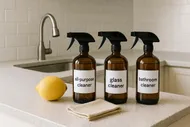
Pro tip for stainless/silicone: Use a wax pencil directly on the container; it wipes off with a little warm water. For sticky labels residue, a dab of your favorite DIY cleaner from Greener Clean: DIY Eco-Friendly Cleaning Products for Every Room works wonders.
Smart habits to keep your freezer humming
Tried-and-true gear to consider
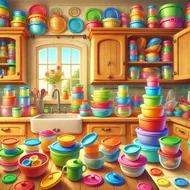
Browse and pick what fits your space and budget. Reuse what you own first—glass pasta sauce jars and sturdy tins count!
- Tempered glass meal-prep set with locking lids
- Stand-up silicone bags (assorted sizes)
- Stainless steel lunchbox-style containers
- Unbleached parchment paper, bulk roll
- Freezer-safe masking tape and bold marker
Small changes, stacked consistently, become big wins. Your freezer is a time machine—set it to 'less waste, more taste' and enjoy the ride.
Chloe Greenfield
Your 7-day Zero-Waste Freezer Challenge
- Day 1: Pull everything out, toss true trash, and create an ‘eat me first’ bin.
- Day 2: Label audit—every mystery item gets a name or gets used tonight.
- Day 3: Freeze one batch-cook hero (soup, beans, or cooked grains) in glass.
- Day 4: Flash freeze something loose (berries, cookies, dumplings) and bag in silicone.
- Day 5: Try a parchment double-wrap (bread, burritos, or burgers).
- Day 6: Create a door inventory and set a ‘use by’ plan for three items.
- Day 7: Celebrate with a freezer-to-feast dinner and a happy-dance in your kitchen.
Share your before-and-after or your favorite freezer hack with our community—tag us on Instagram so we can cheer you on. Your small swaps are mighty. Future You (and the planet) are clinking frosty glasses in your honor already.